I am excited to share Hunt & Gather Home’s first DIY project, which features an item we’ve gathered and turned into something more fitting for one of our homes. Ironically, this project didn’t make it on my Fall To-Do list , but don’t worry, I’ll add it just so that I can cross it off!
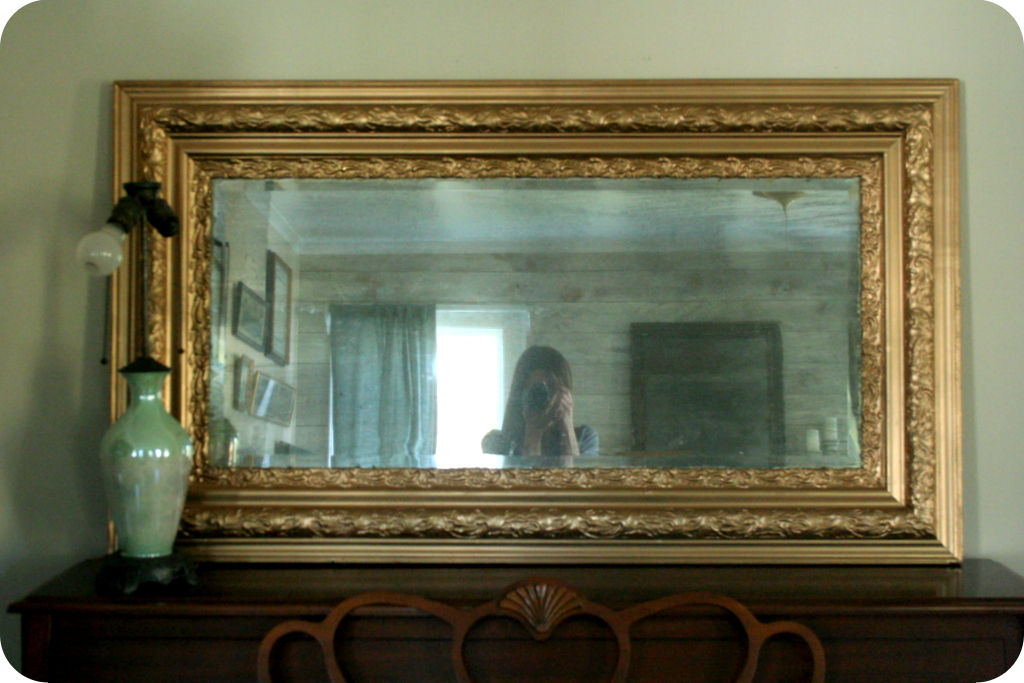
The story: A dear elderly friend of my in-laws had recently passed away, and after the family removed all the furniture and items of sentimental value from his home, I was invited to look around to see if there was anything I might like. (My in-laws know me well.) I found a few things, one of them, this mirror.

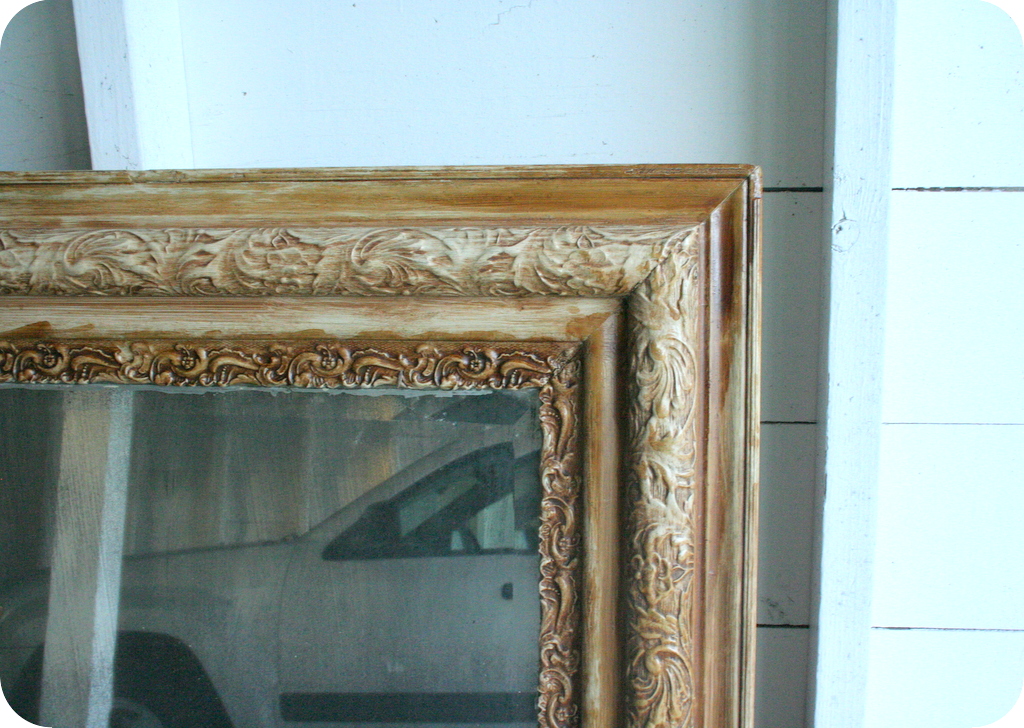
It had an odd, faux wood, 1960s sort of brushed-on finish, but I thought the detailing of the frame had potential. The aging glass was a bit cloudy and unclear, but that didn’t really bother me. A quick inspection of the back of the mirror proved that the glass could easily be replaced if desired.
So, I brought the mirror home and stuck it in my storeroom where it sat for about two years until I passed a $5 can of gold spray paint at Lowe’s and inspiration struck. Now for the how to:
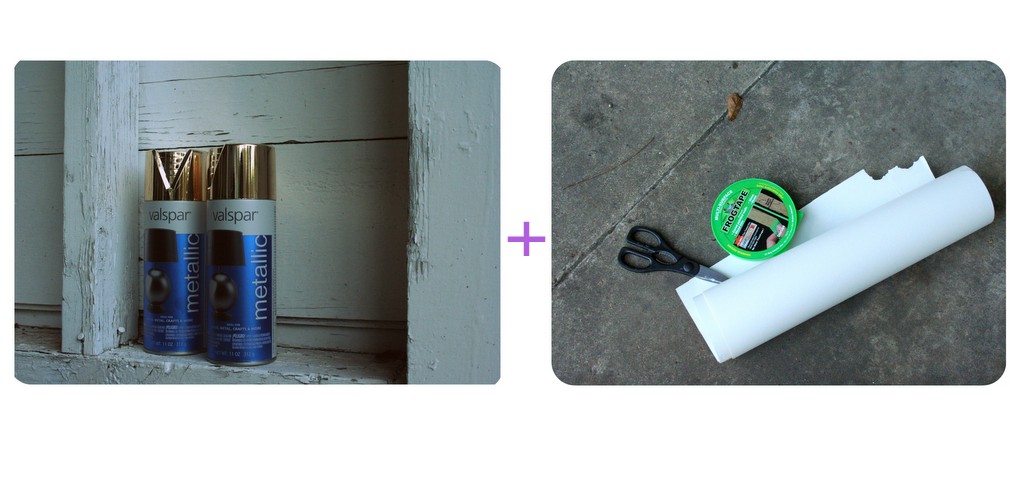 Don’t be fooled by the cheap looking gold color of the cap. While the can of paint is actually inexpensive, the color, which I tested on the paper provided by Lowe’s, proved to be quite rich. So I grabbed two cans and headed home to round up the rest of my supplies: kitchen shears (the most convenient cutting utensil I could find), painters tape, and a length of the kids’ drawing paper torn long enough to cover the glass.
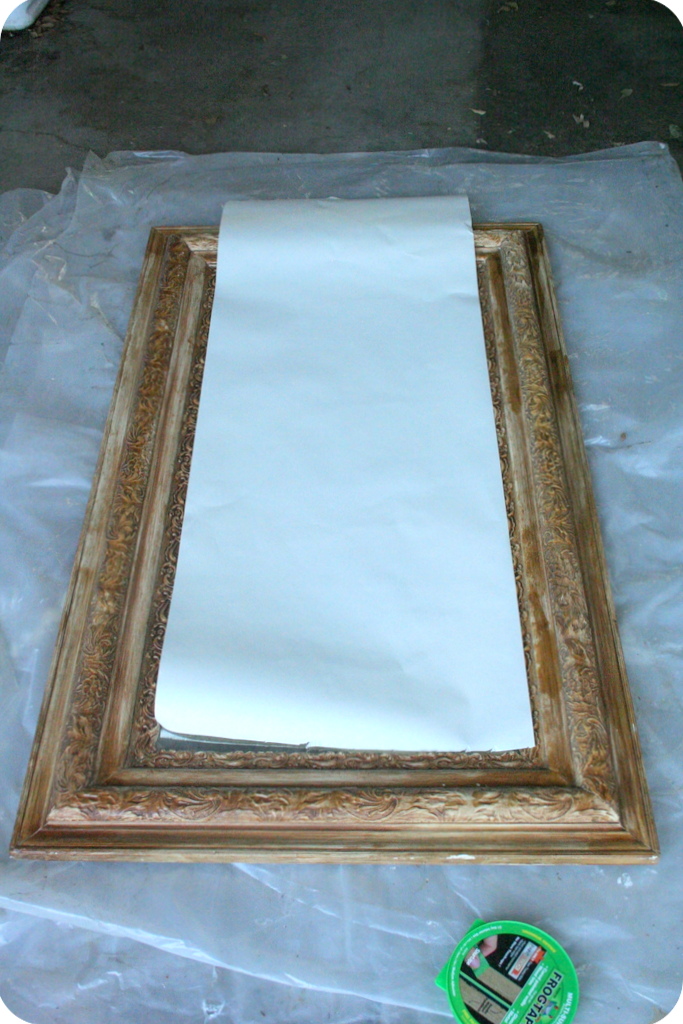
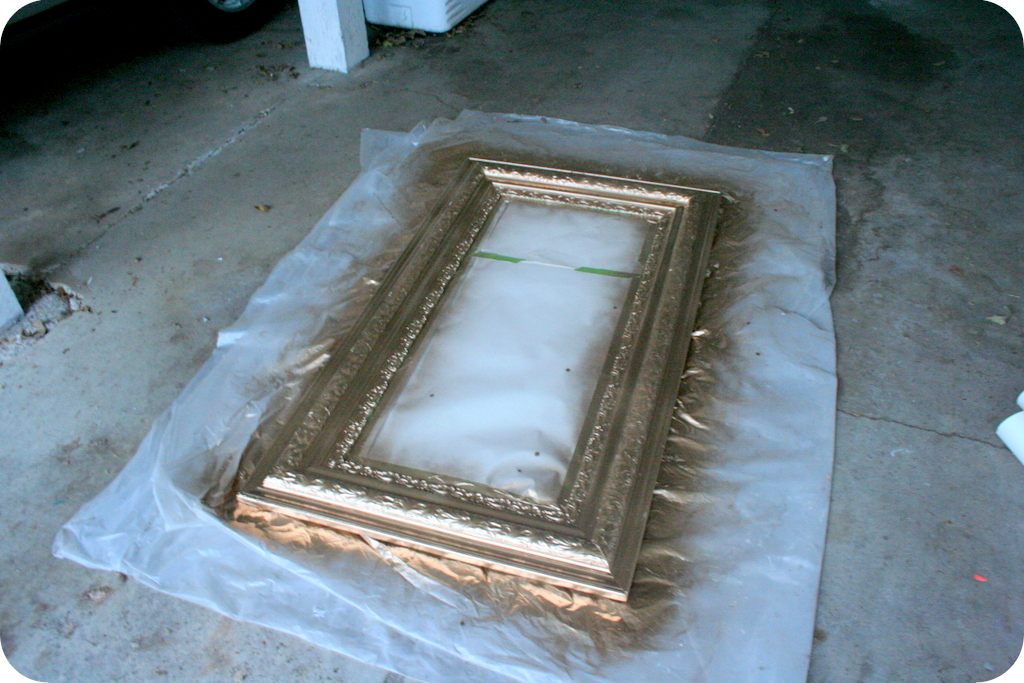
I laid my mirror on a plastic drop cloth in my garage and covered the glass with paper.
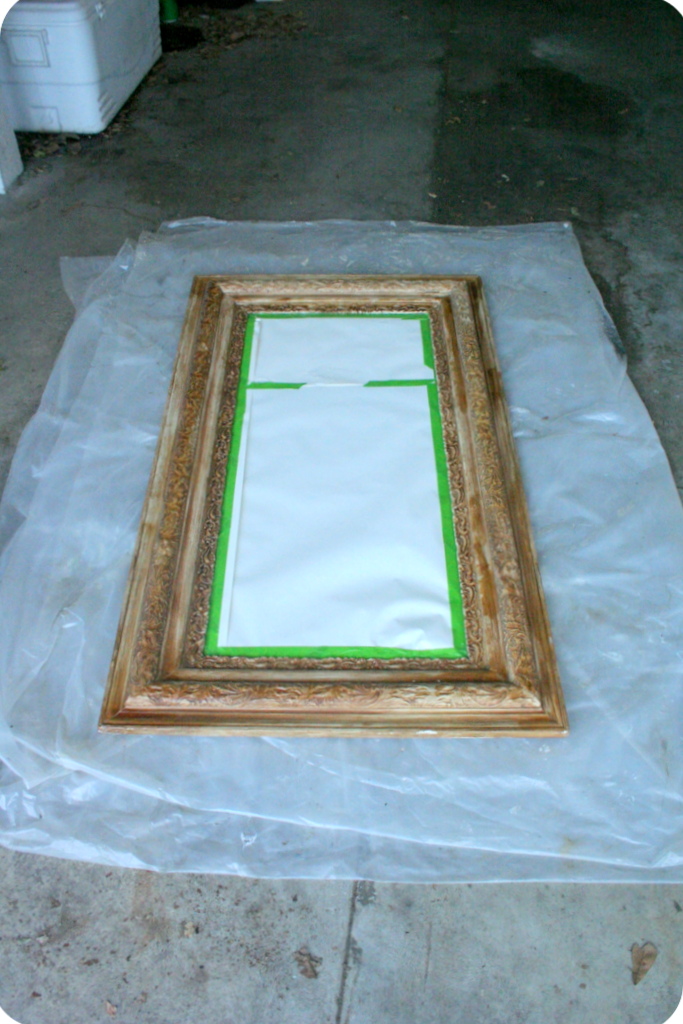
Then I folded the paper to fit and taped the edges just underneath the frame, pressing each piece of tape down well to ensure a good seal. This took about five minutes.
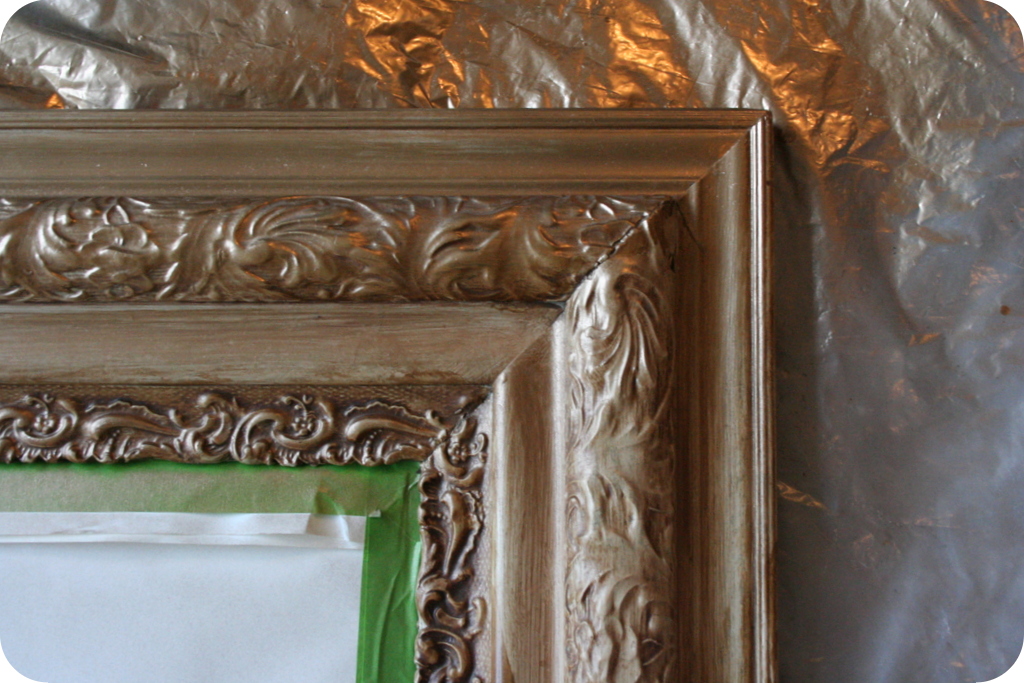
Then I started spraying, doing my best to spray slow, thin layers. This always proves more easily said than done, but the picture above documents my initial efforts. The gold paint did a nice job of bringing out much of the detail in the frame.
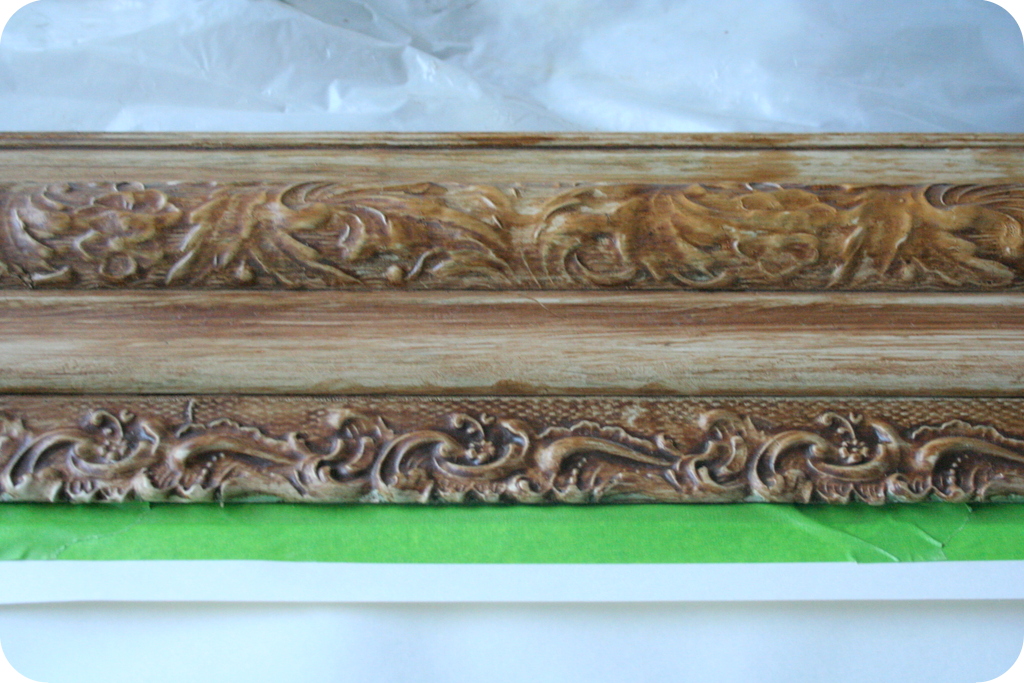
Another “before” section of the frame showing the detail.
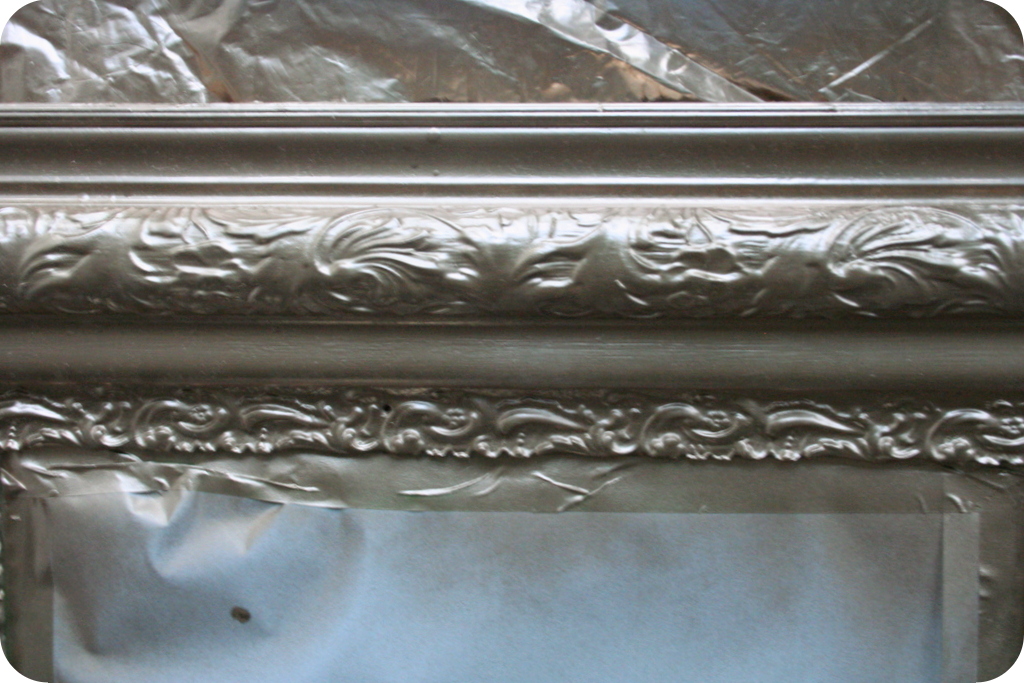
The same section “after” with two coats of paint. Make sure to wait at least five minutes in between coats.
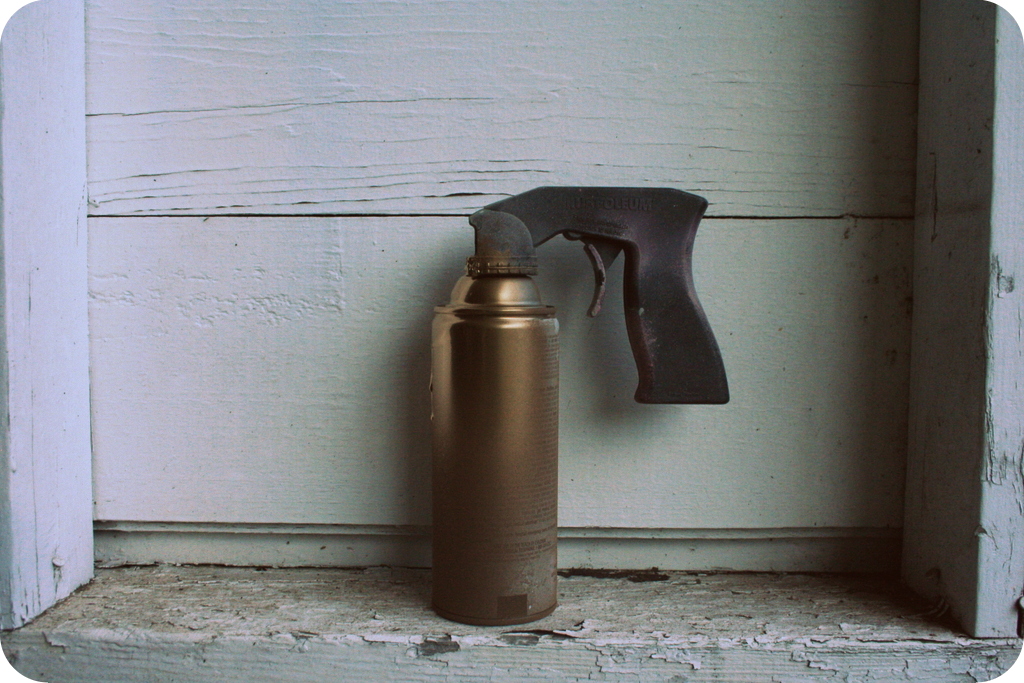
And here is my weapon of choice. Seriously, this little spray paint gun is a life saver. It will save you from permanent spray-paint-can-trigger-impression-finger and just makes the entire process more fun. Life. Saver. You can find this little guy at practically any hardware store.
Here’s the semi-finished product looking good with two coats of paint, but not quite dry. The instructions on the can said that within one hour, the paint would dry and could be handled. I got side tracked making dinner and playing with my kids, but came back to the mirror after about 2 hours and it was good to go. Here’s a not-so-final, final photo.

As you can see, I still have some hanging and arranging to do. And let’s just look past that little lamp for now. That’s another project for another day.
The mirror turned out just as I’d hoped. It fits perfectly in its new location and although it looks a little formal and overwhelming in this picture, the gold brings a nice hint of ecletic formality to our very casual family room, which you can see in the reflection. I’m looking forward to decorating it for Christmas.
Speaking of reflections, here’s my final thought: You can’t go wrong with a $5 can of spray paint.
