
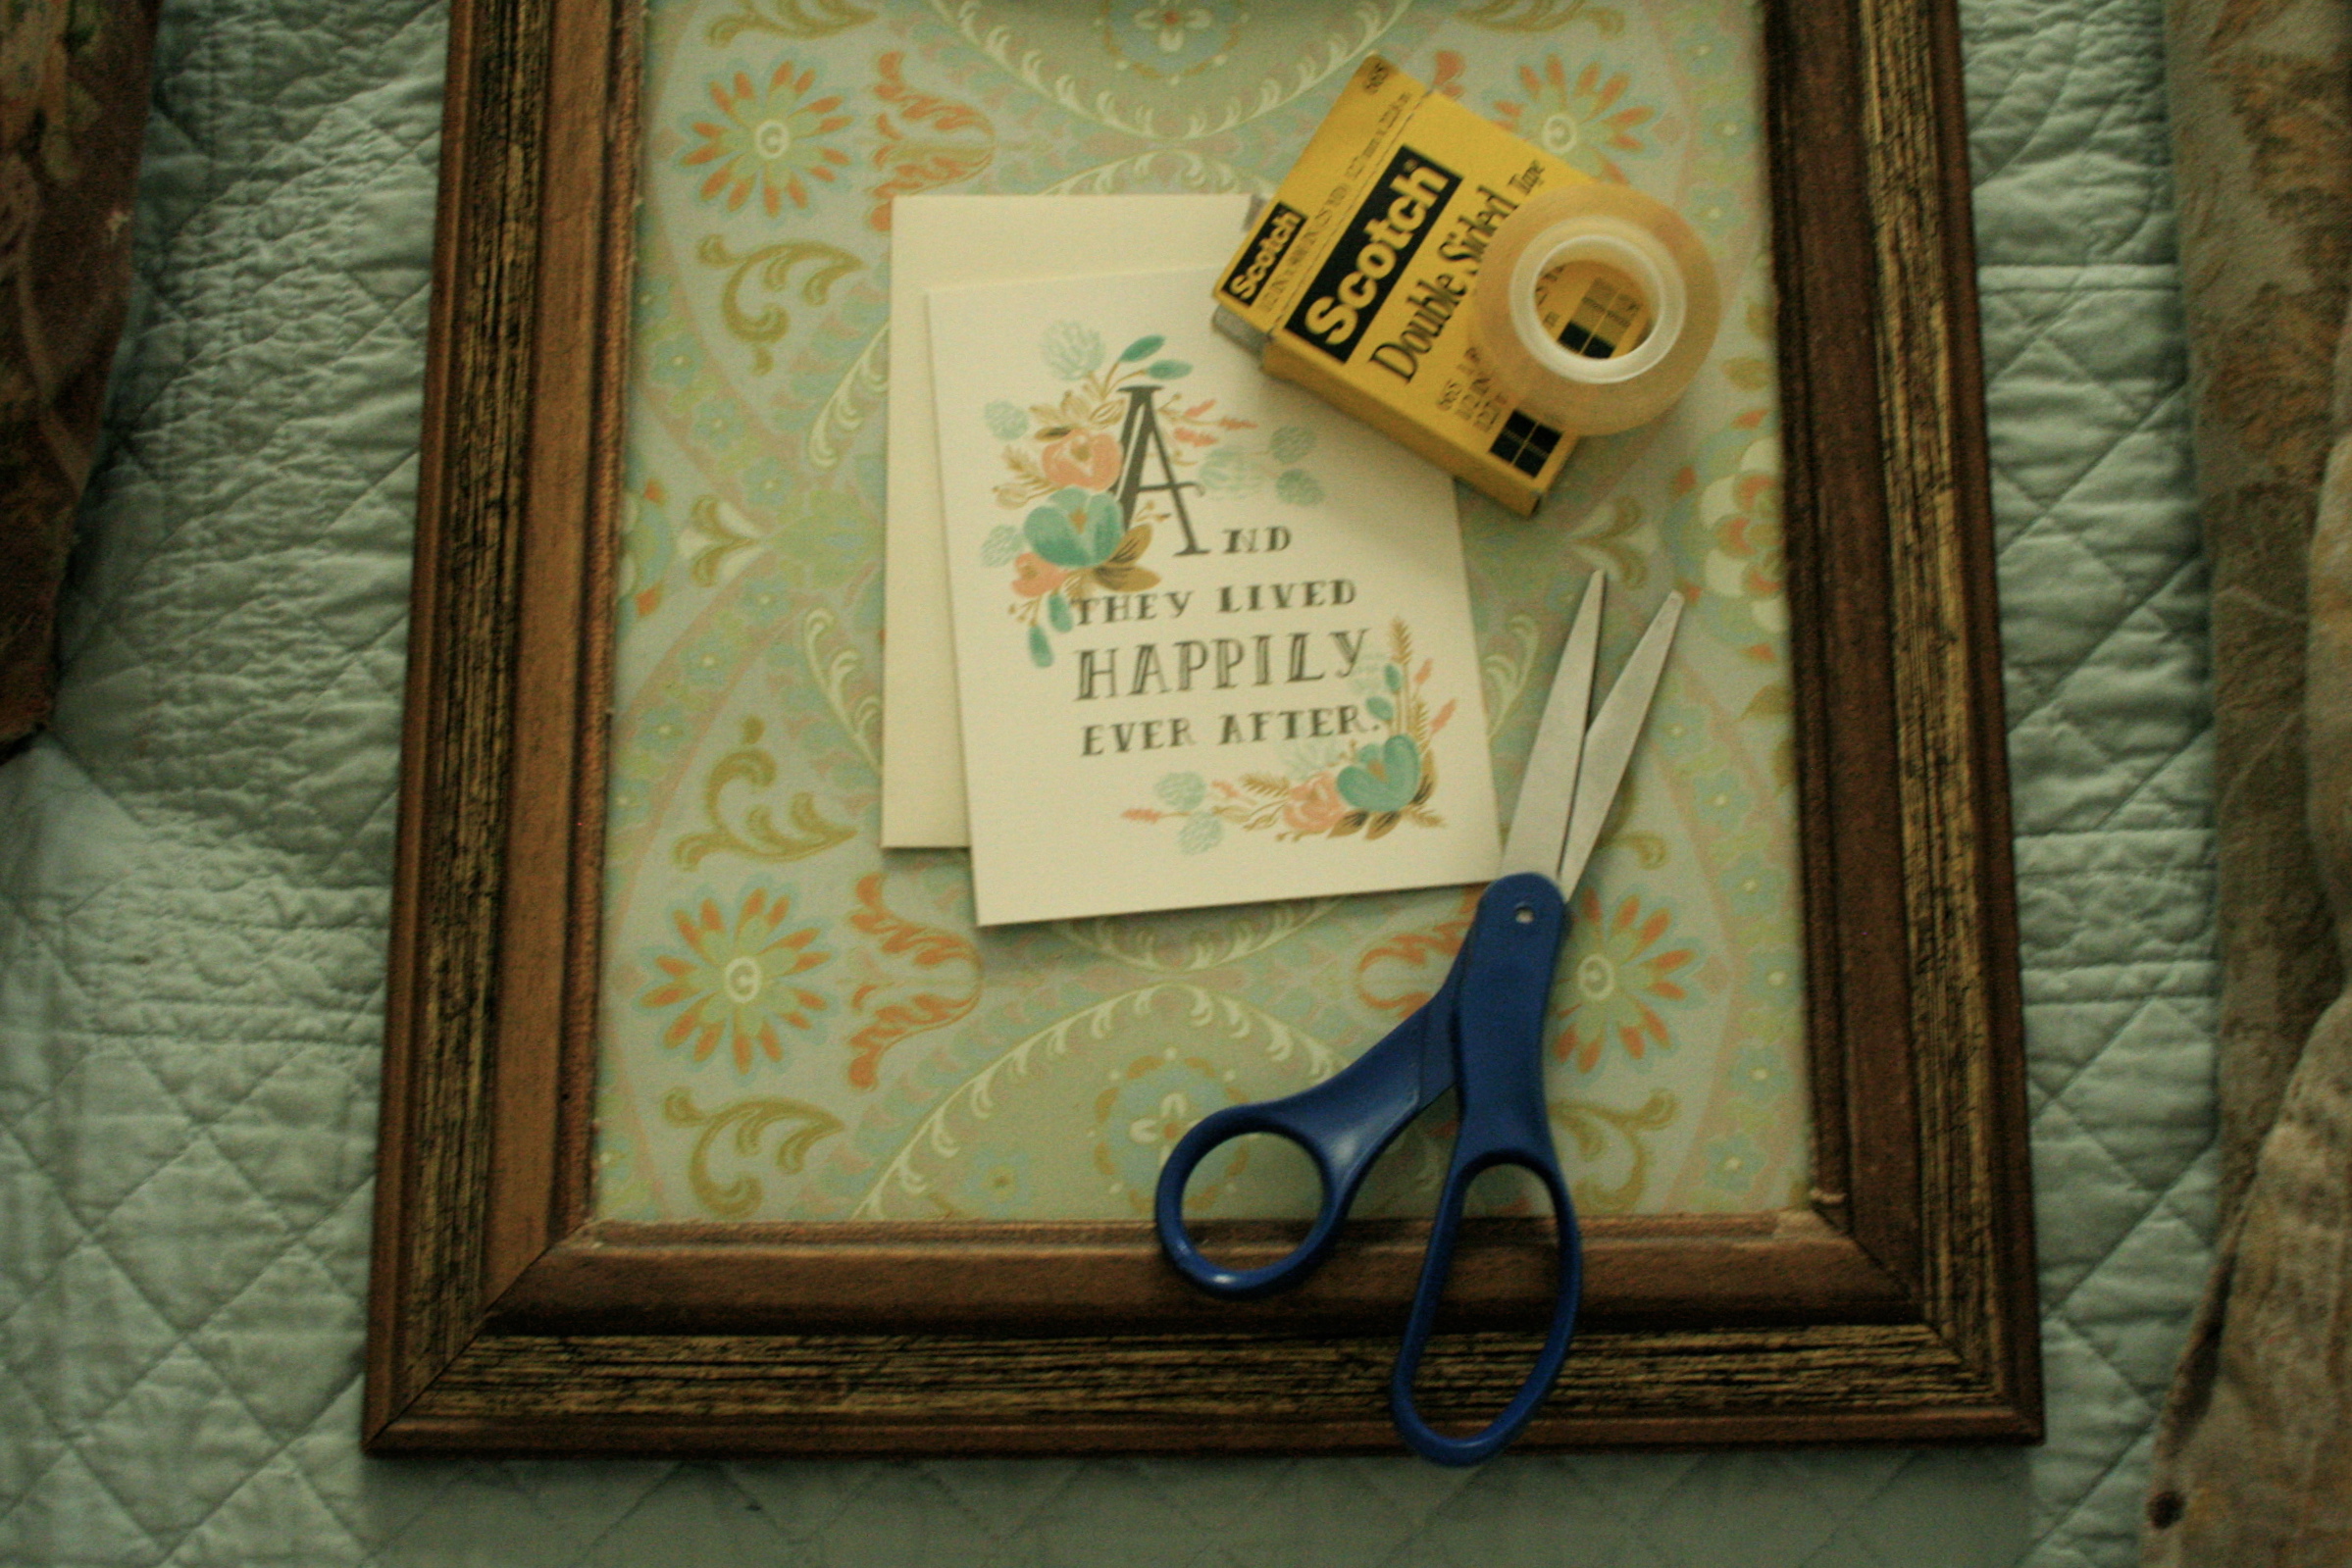
So glad to have you back for Design Crush project No. 2. Today we’ll put those cute and clever greeting cards to use. Here’s the Rifle Paper Co. card that inspired this project for updating the art in my master bedroom.
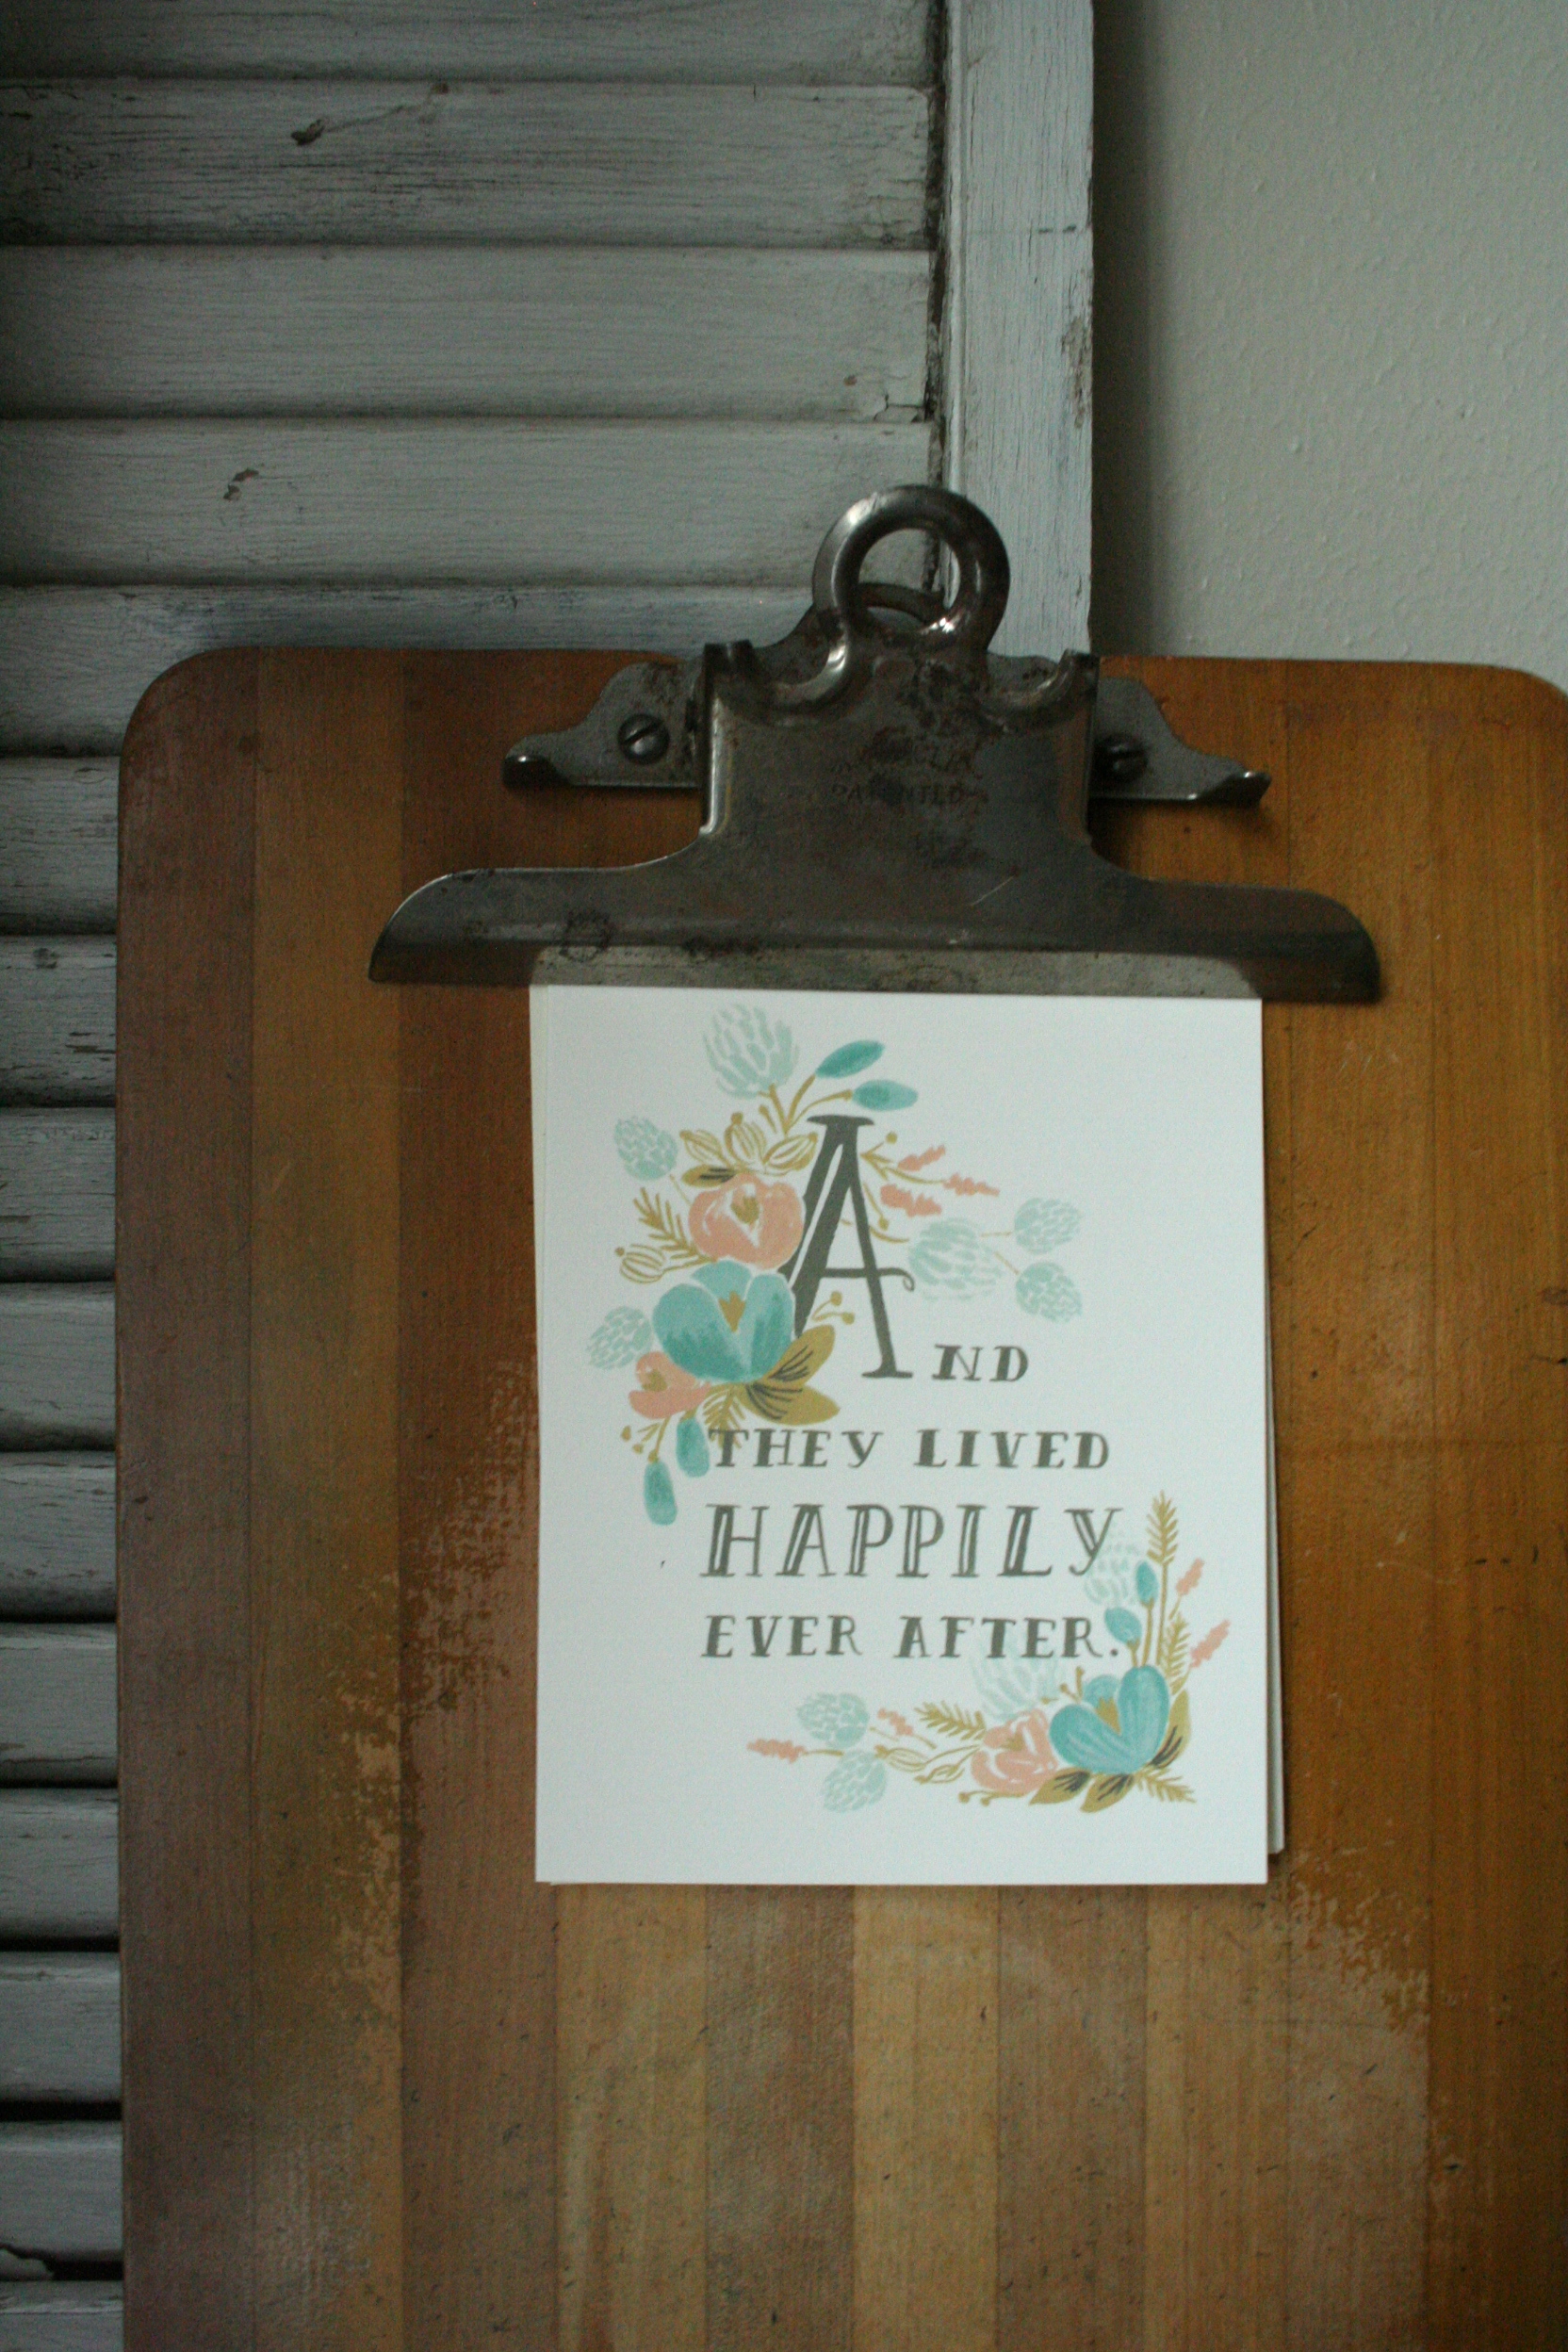
A clipboard is a cute and easy way to display cards, but I bought this card with another idea in mind.
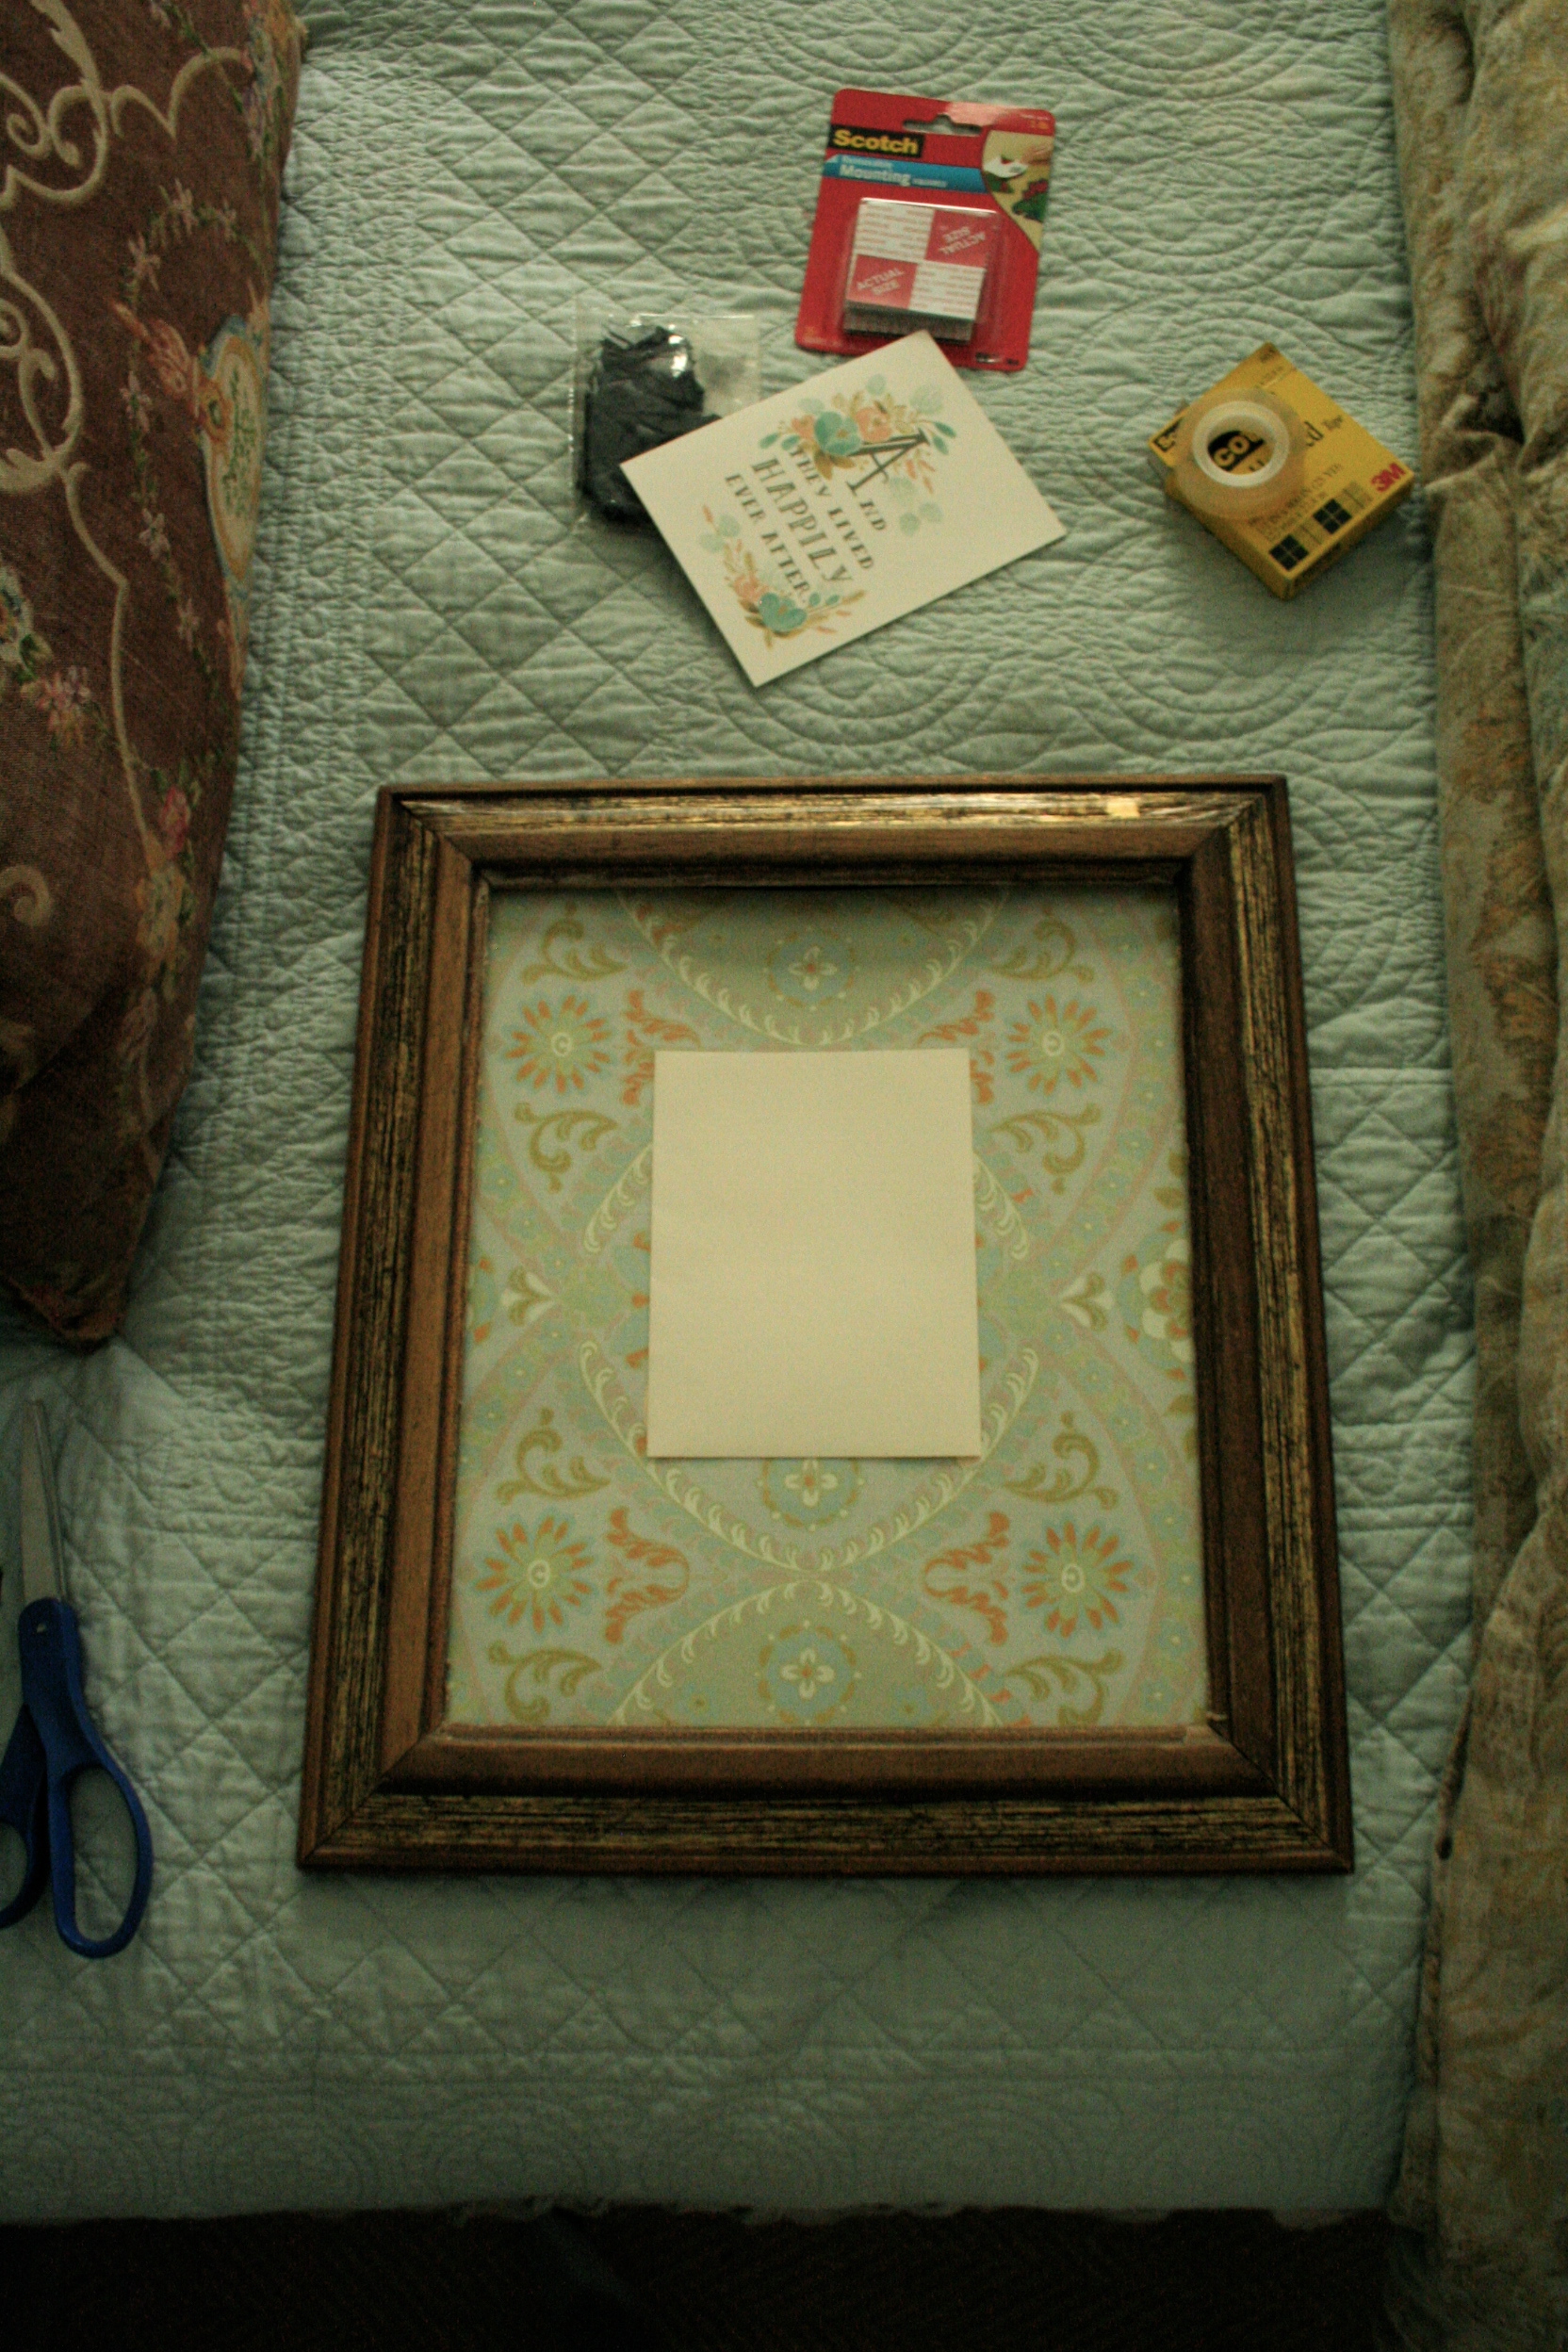
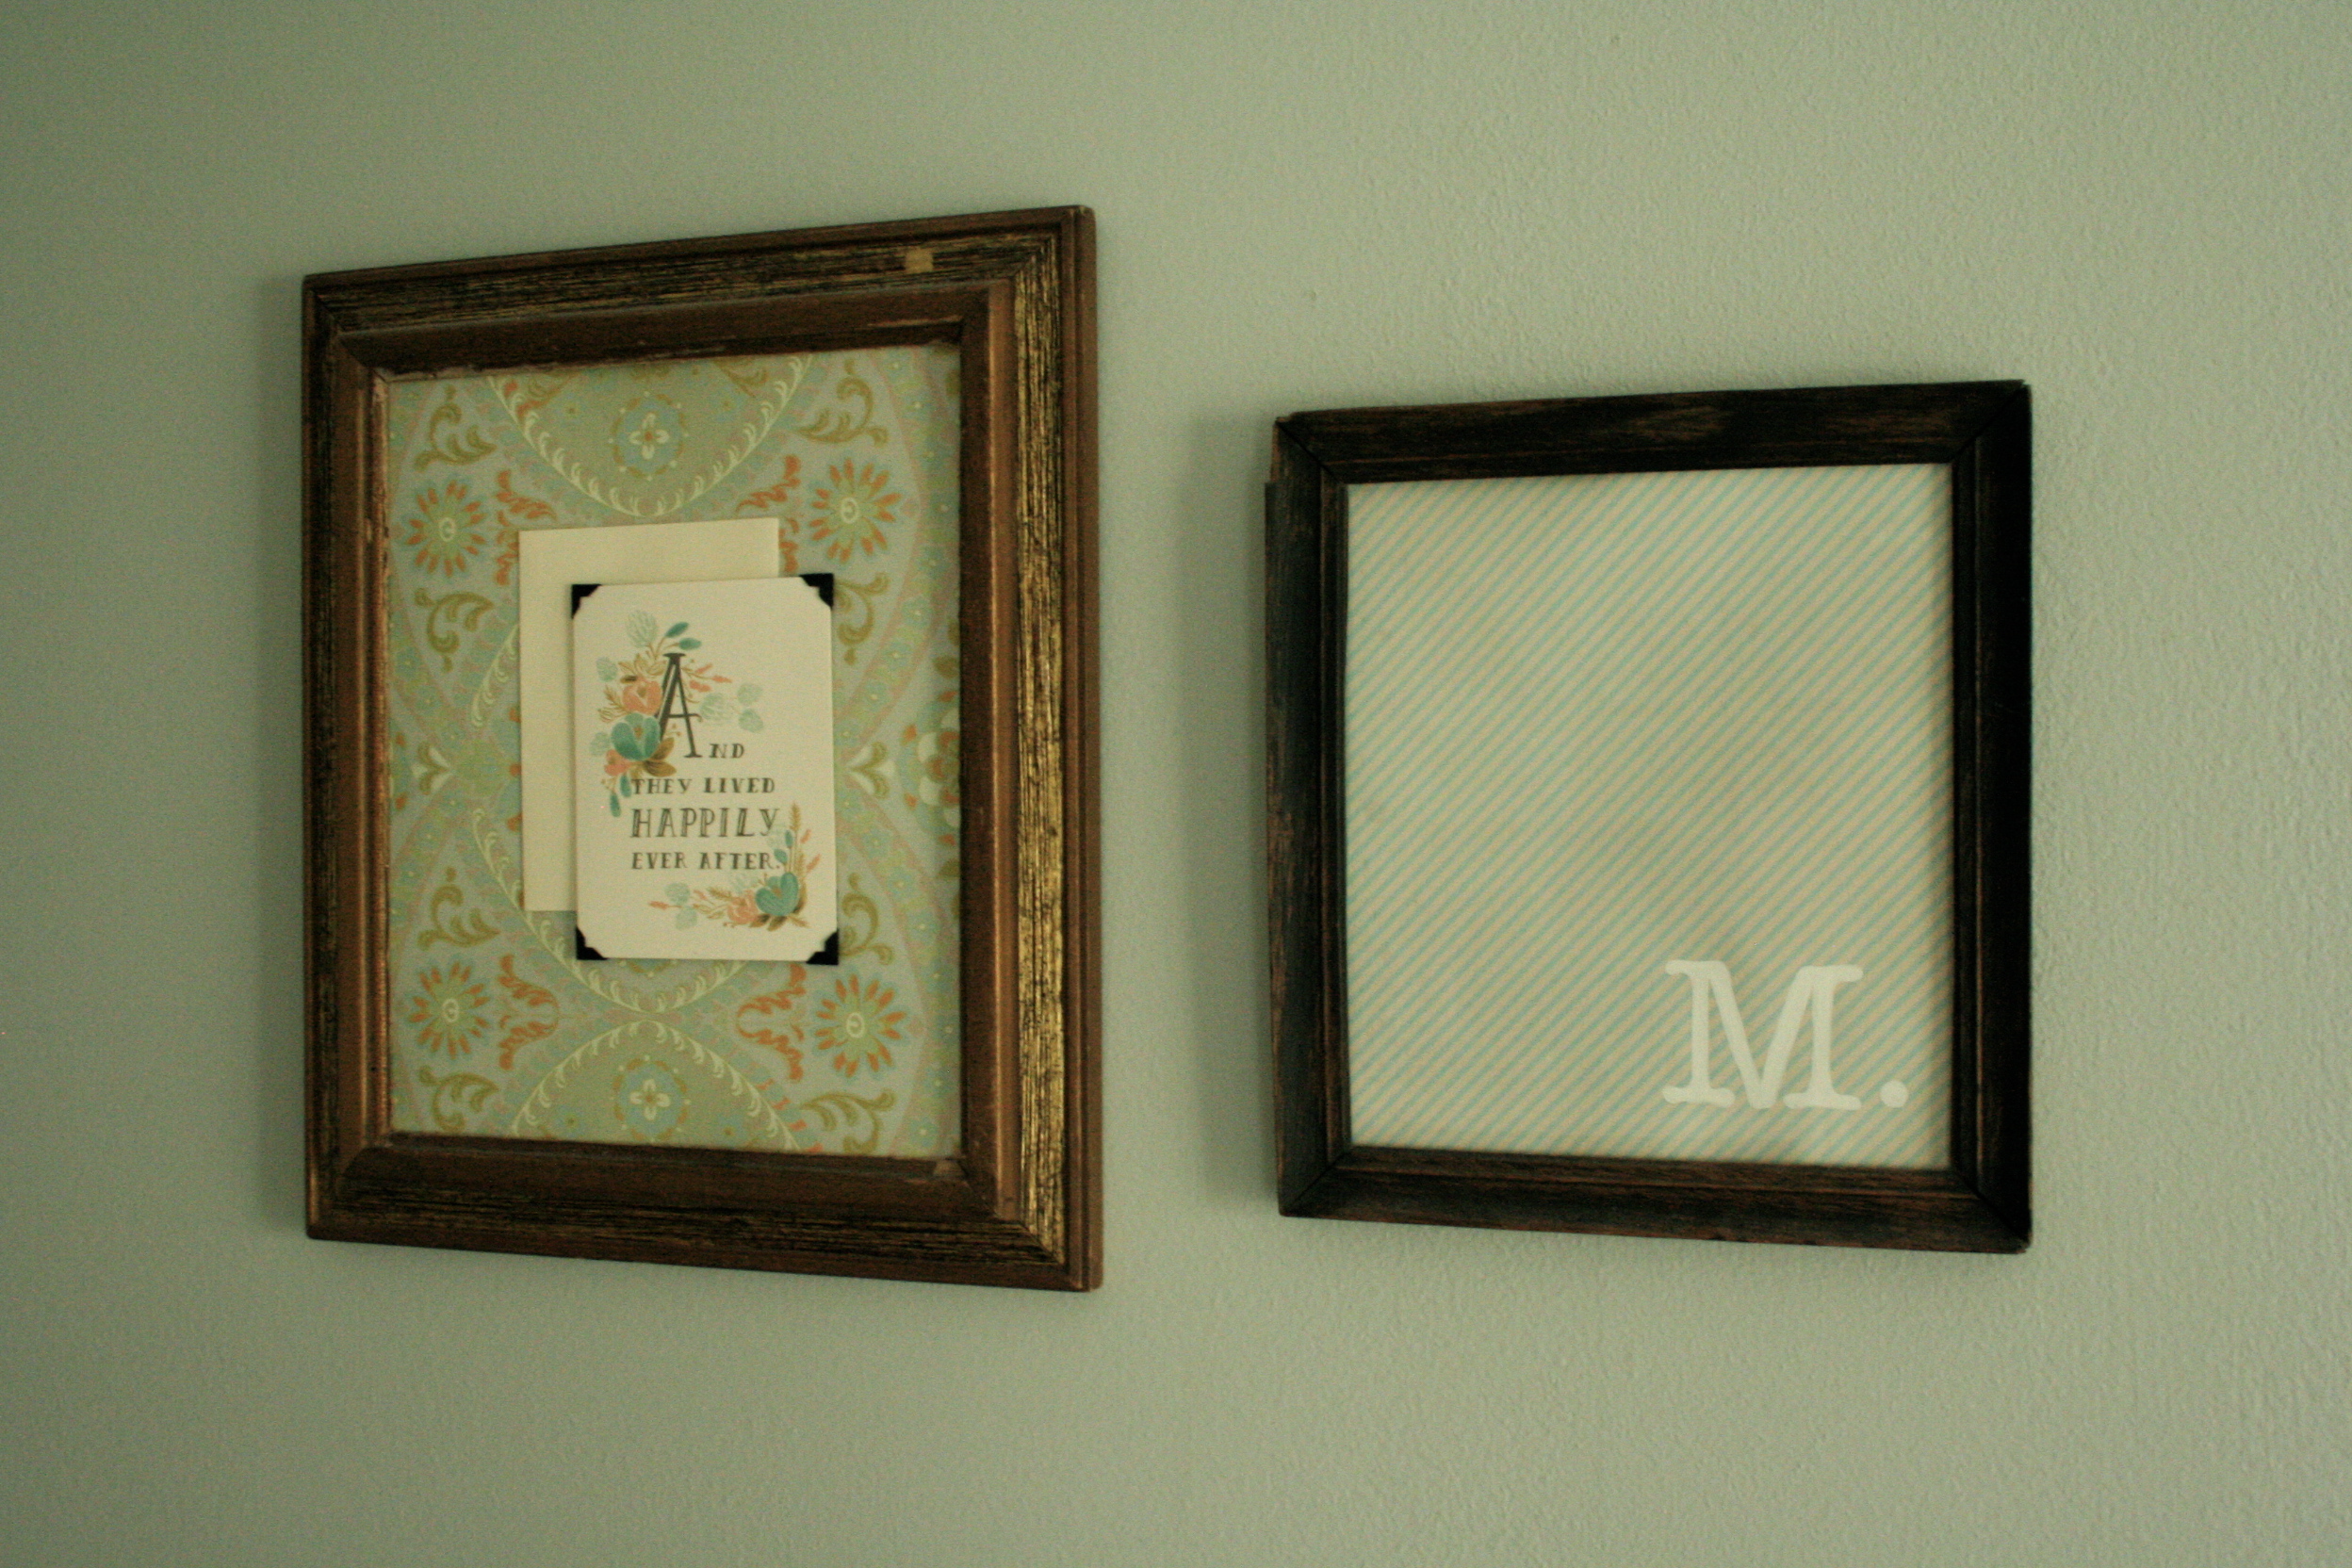
Here’s the artwork above the bed that needed a little tweaking.
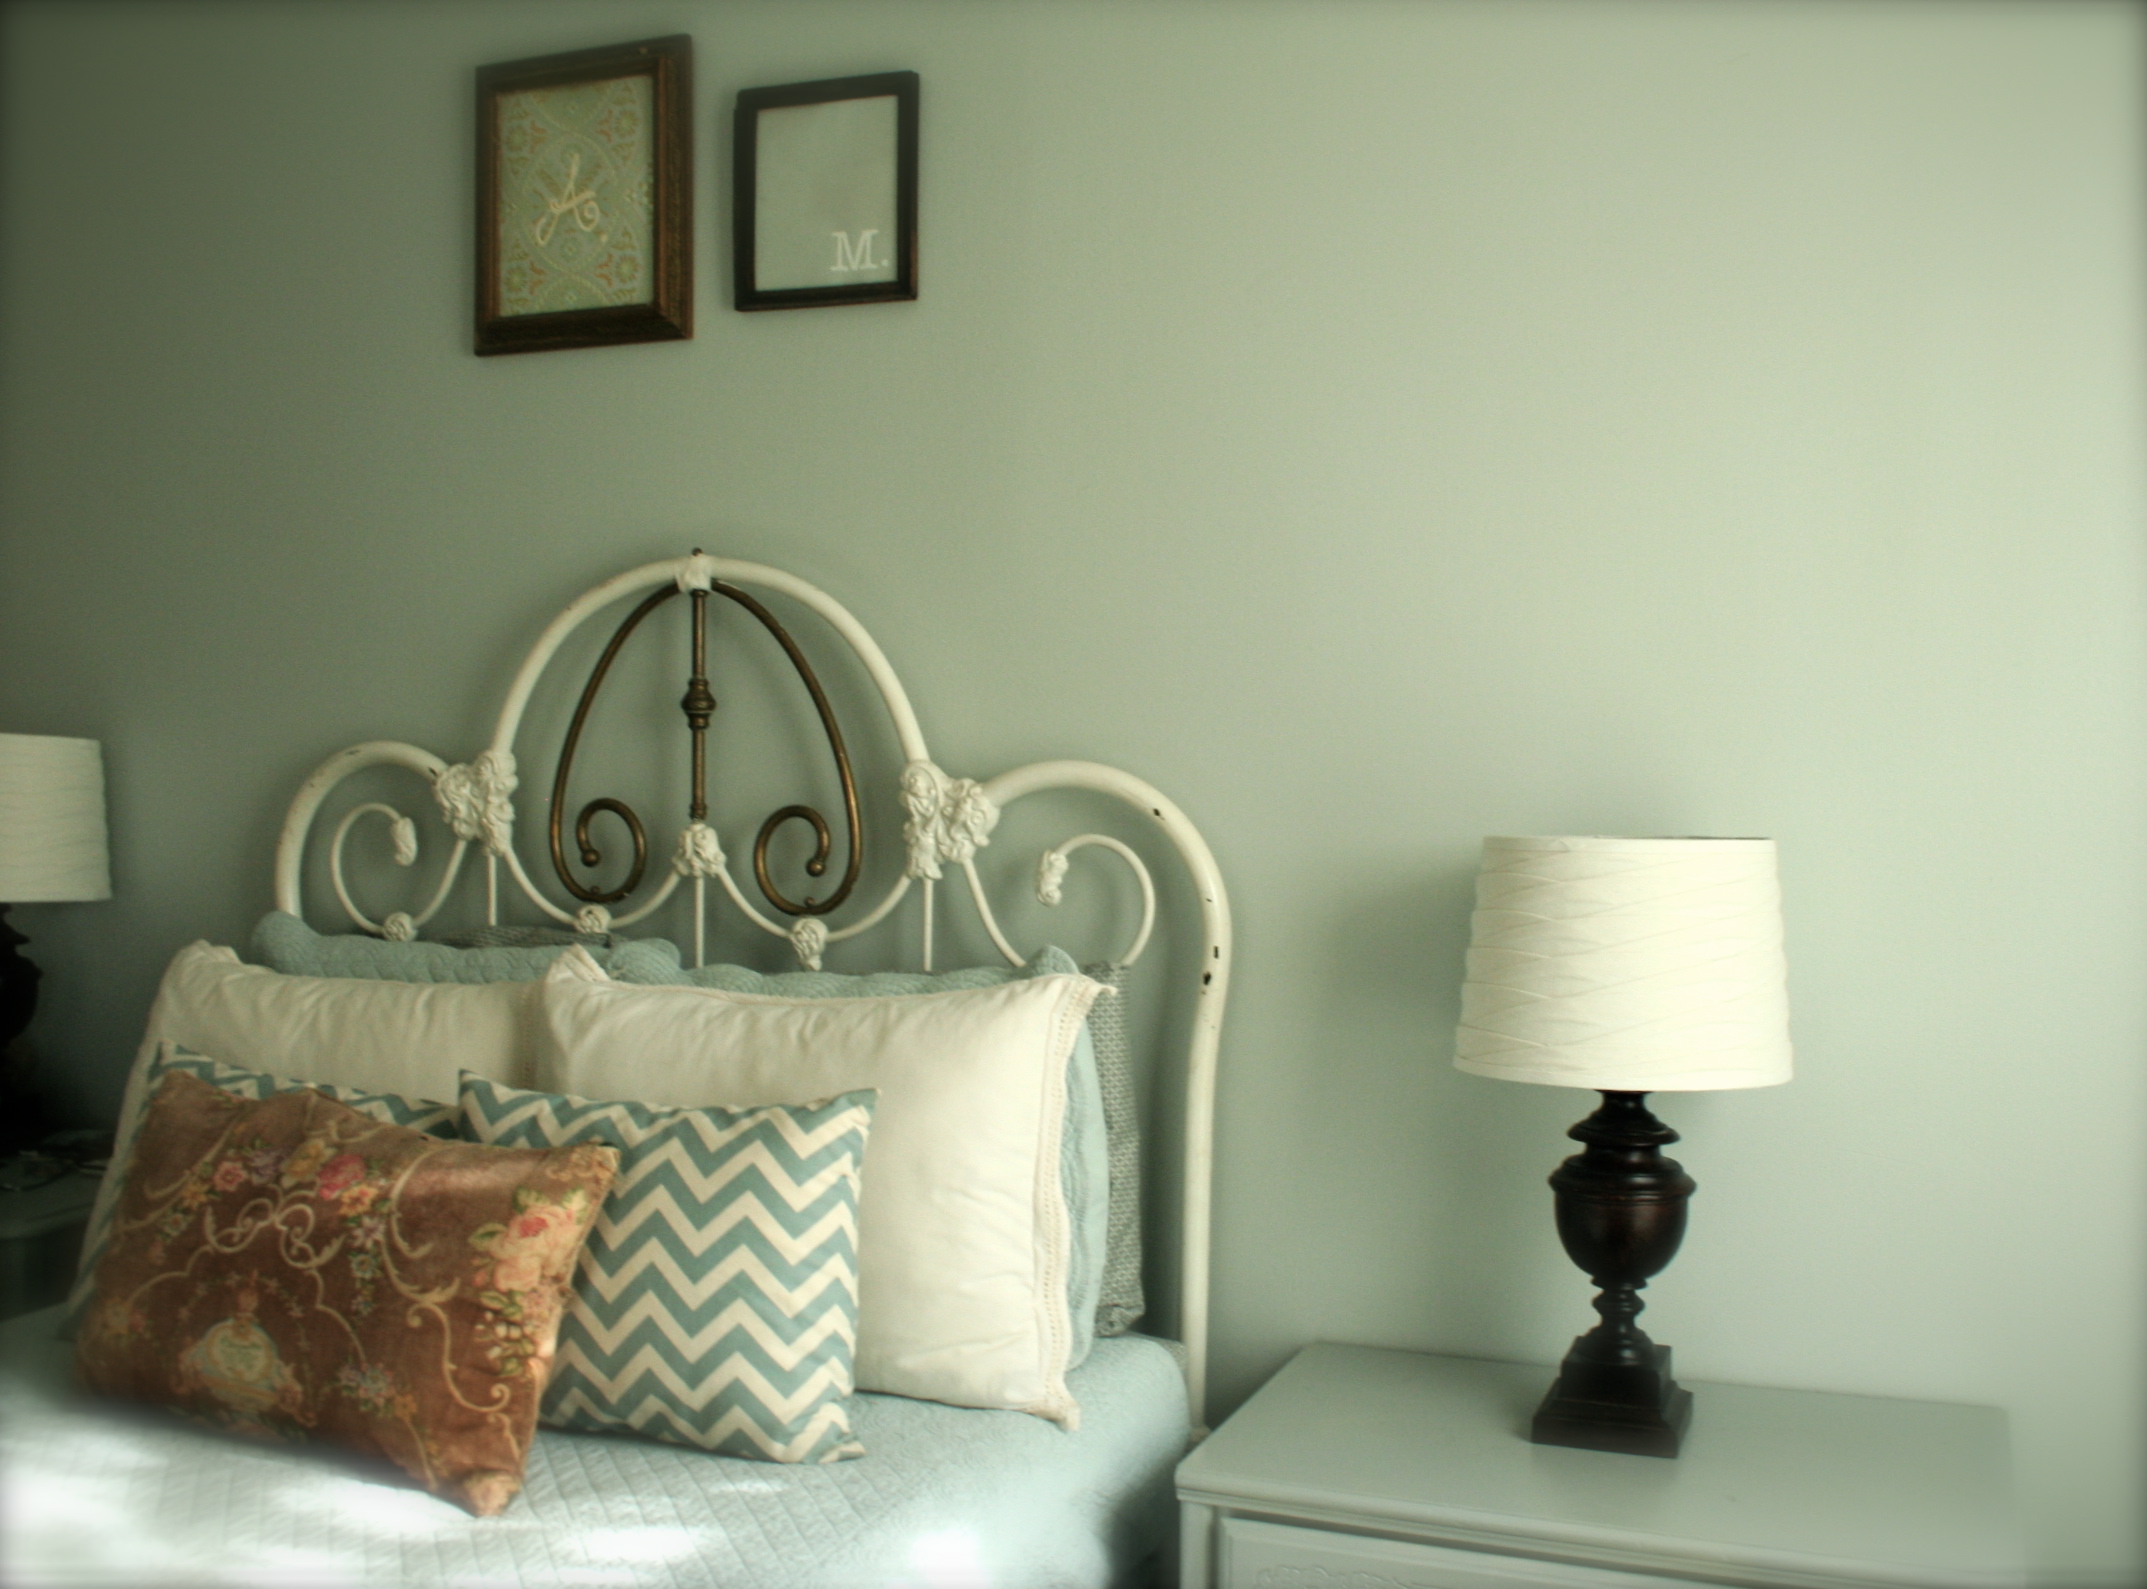
It took me the longest time to decide what to hang over the bed. The wall needed something extra due to the ceiling height, but a large piece of artwork would compete with the bed frame. So, I dusted off some old frames, popped in some scrapbook paper, and painted our initials. That was three years ago.
However, something about the “A” had been bothering me for awhile, and when I recently found the Happily Ever After card, I knew it would be the perfect piece to make a subtle yet satisfying change.
Once you have your framed paper ready, it’s easy to create
DESIGN CRUSH DIY: GREETING CARD ART
STEP ONE: GATHER SUPPLIES

Framed paper / Greeting Card (envelope optional) / Double-sided tape / Scissors / Photo Corners / Scotch Removable Foam Squares
STEP TWO: LAYOUT YOUR CARD
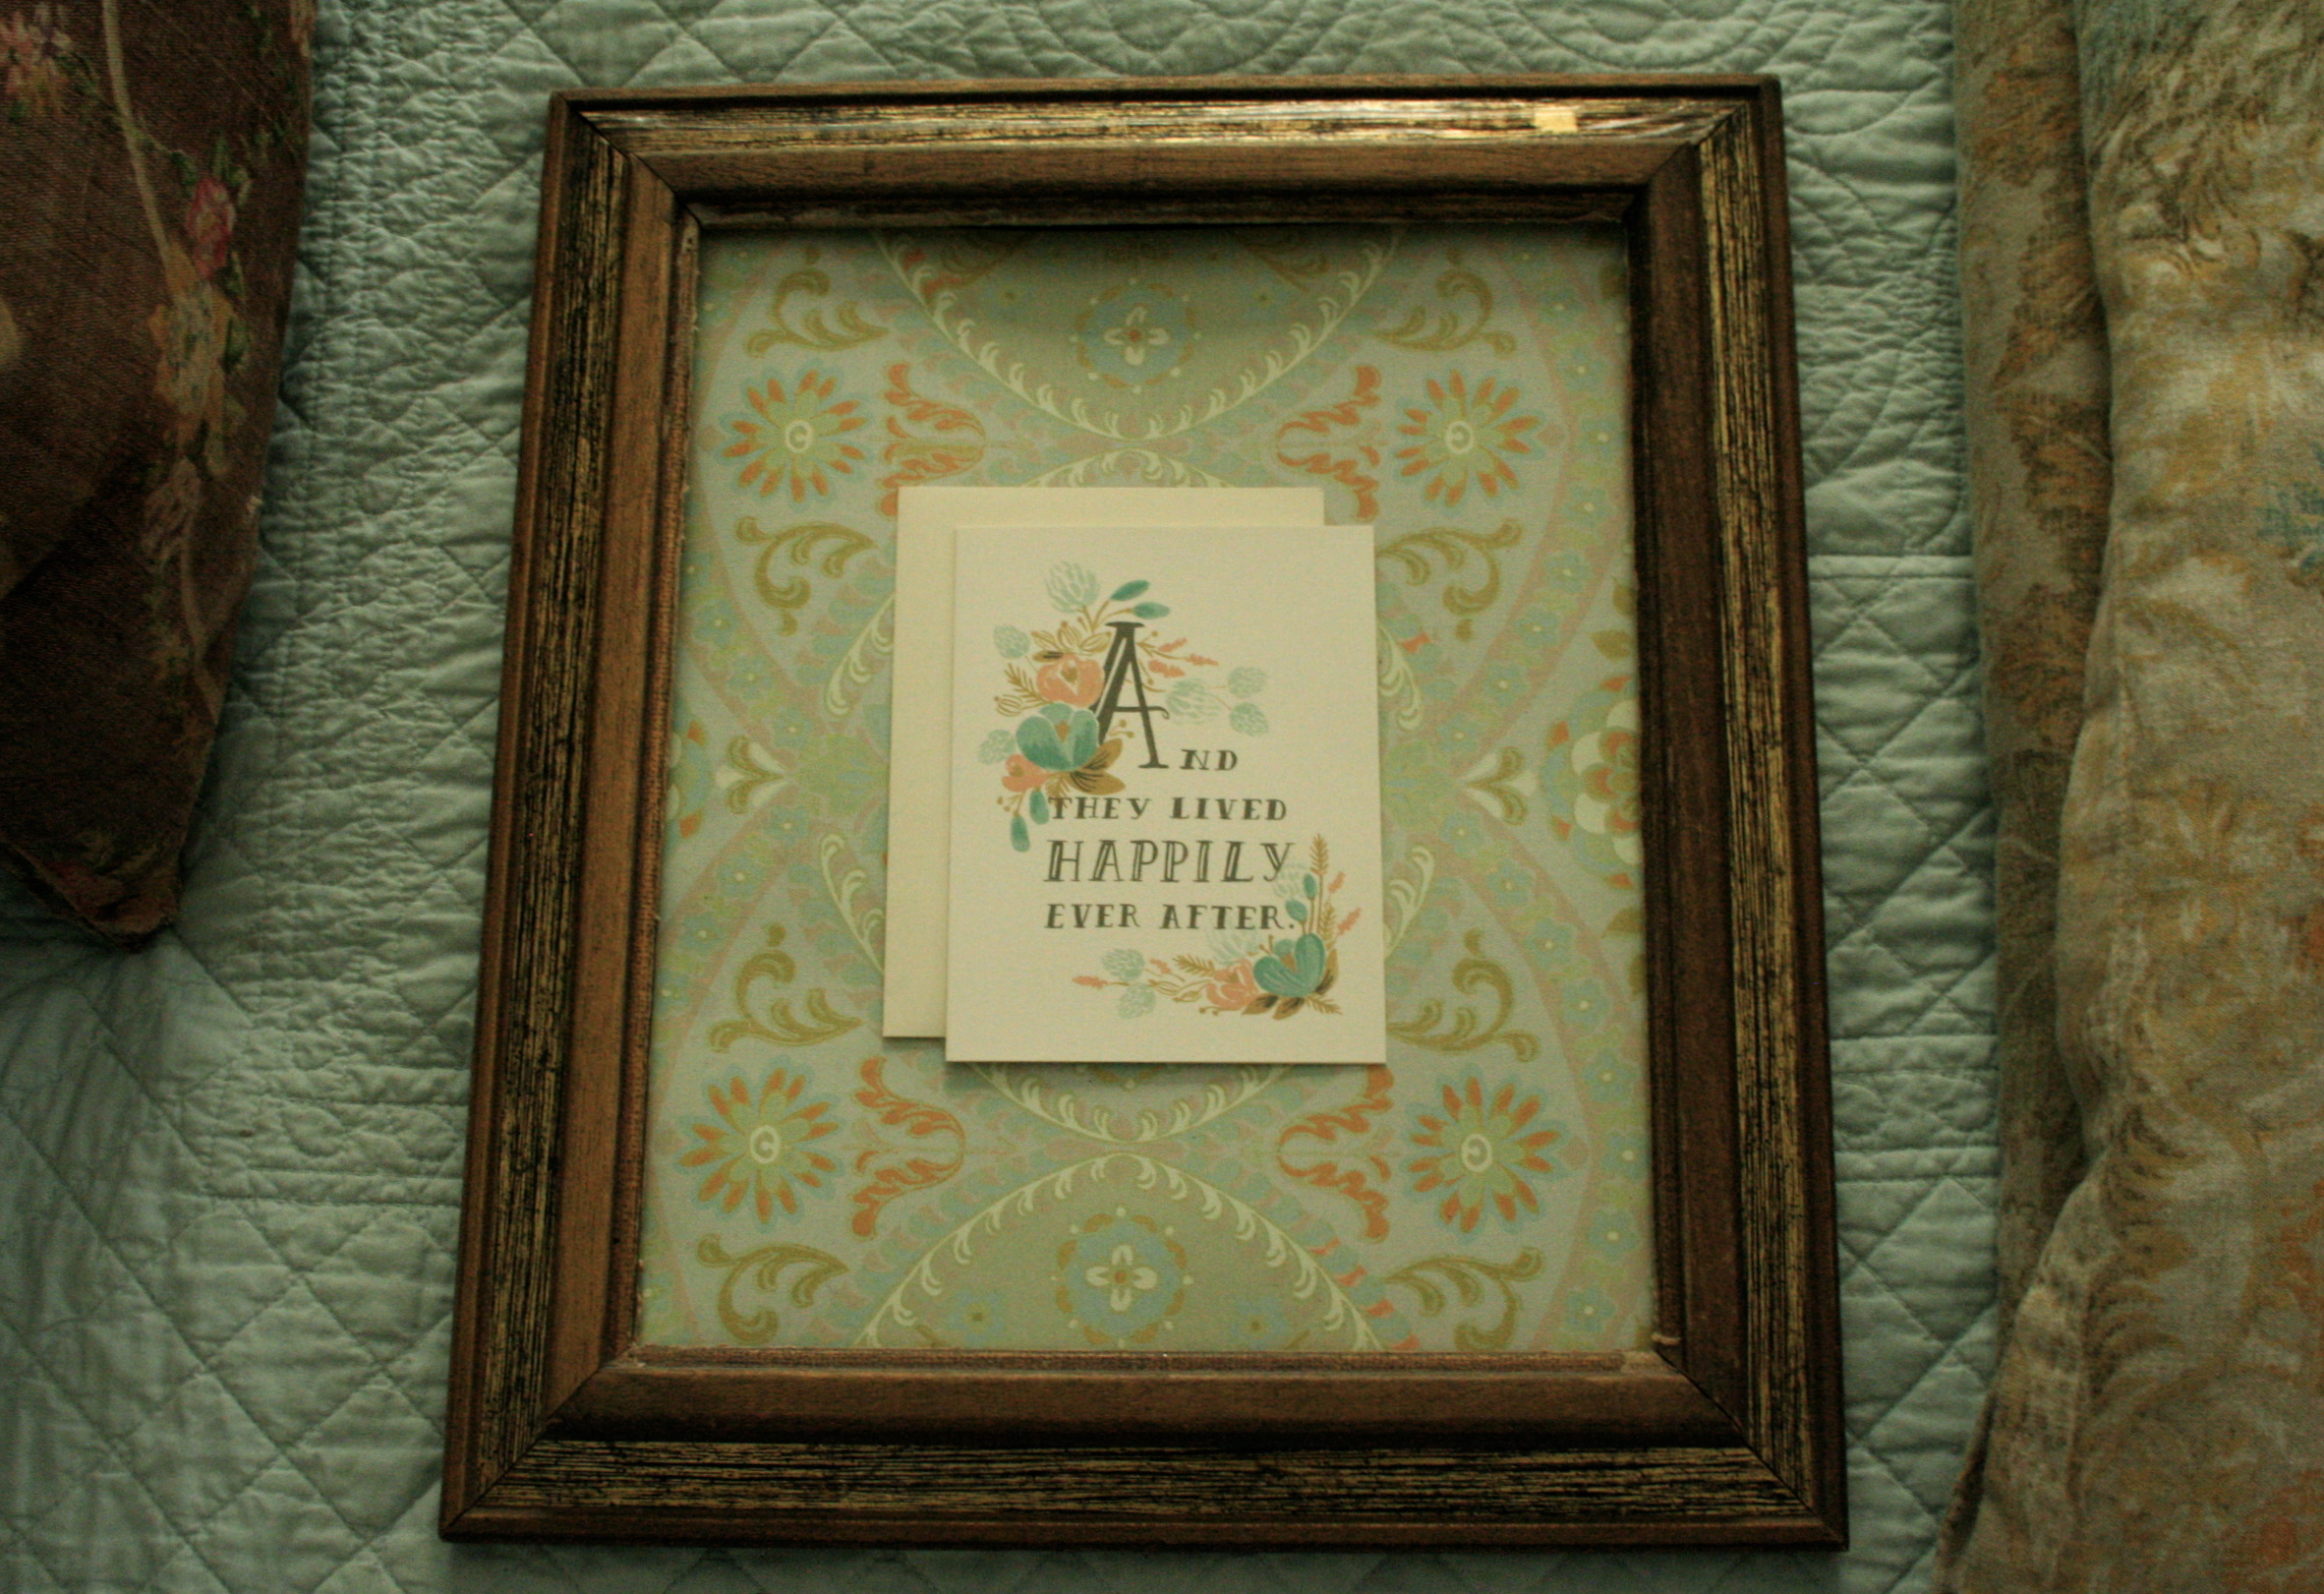
This was an important step in my case. Since I was trying to hide the “A” I realized I needed to use the envelope as well as the card. Laying out the envelope and card before applying adhesive ensures that you get the placement perfect.
STEP THREE: TAPE CARD TOGETHER
I chose not to cut the cover off of my card before framing. Instead I cut several pieces of double-sided tape, placed them on the inside of the open card, gently closed the card and pressed it together to ensure that the card would stay closed when hanging on the wall.
STEP FOUR: ATTACH ENVELOPE
Place the taped card aside and cut several more strips of double-sided tape to adhere to the back (flap-side) of your envelope. Then gently press the envelope to the scrapbook paper to secure in place.
STEP FIVE: ADD PHOTO CORNERS

Slip one photo corner on each of the four corner of the card.
STEP SIX: ATTACH FOAM SQUARES

Four adhesive foam squares should be enough to securely attach the greeting card to the envelope/framed paper. I made sure to place the foam squares over the back of the photo corners to ensure that they stayed in place.
STEP SEVEN: ATTACH CARD
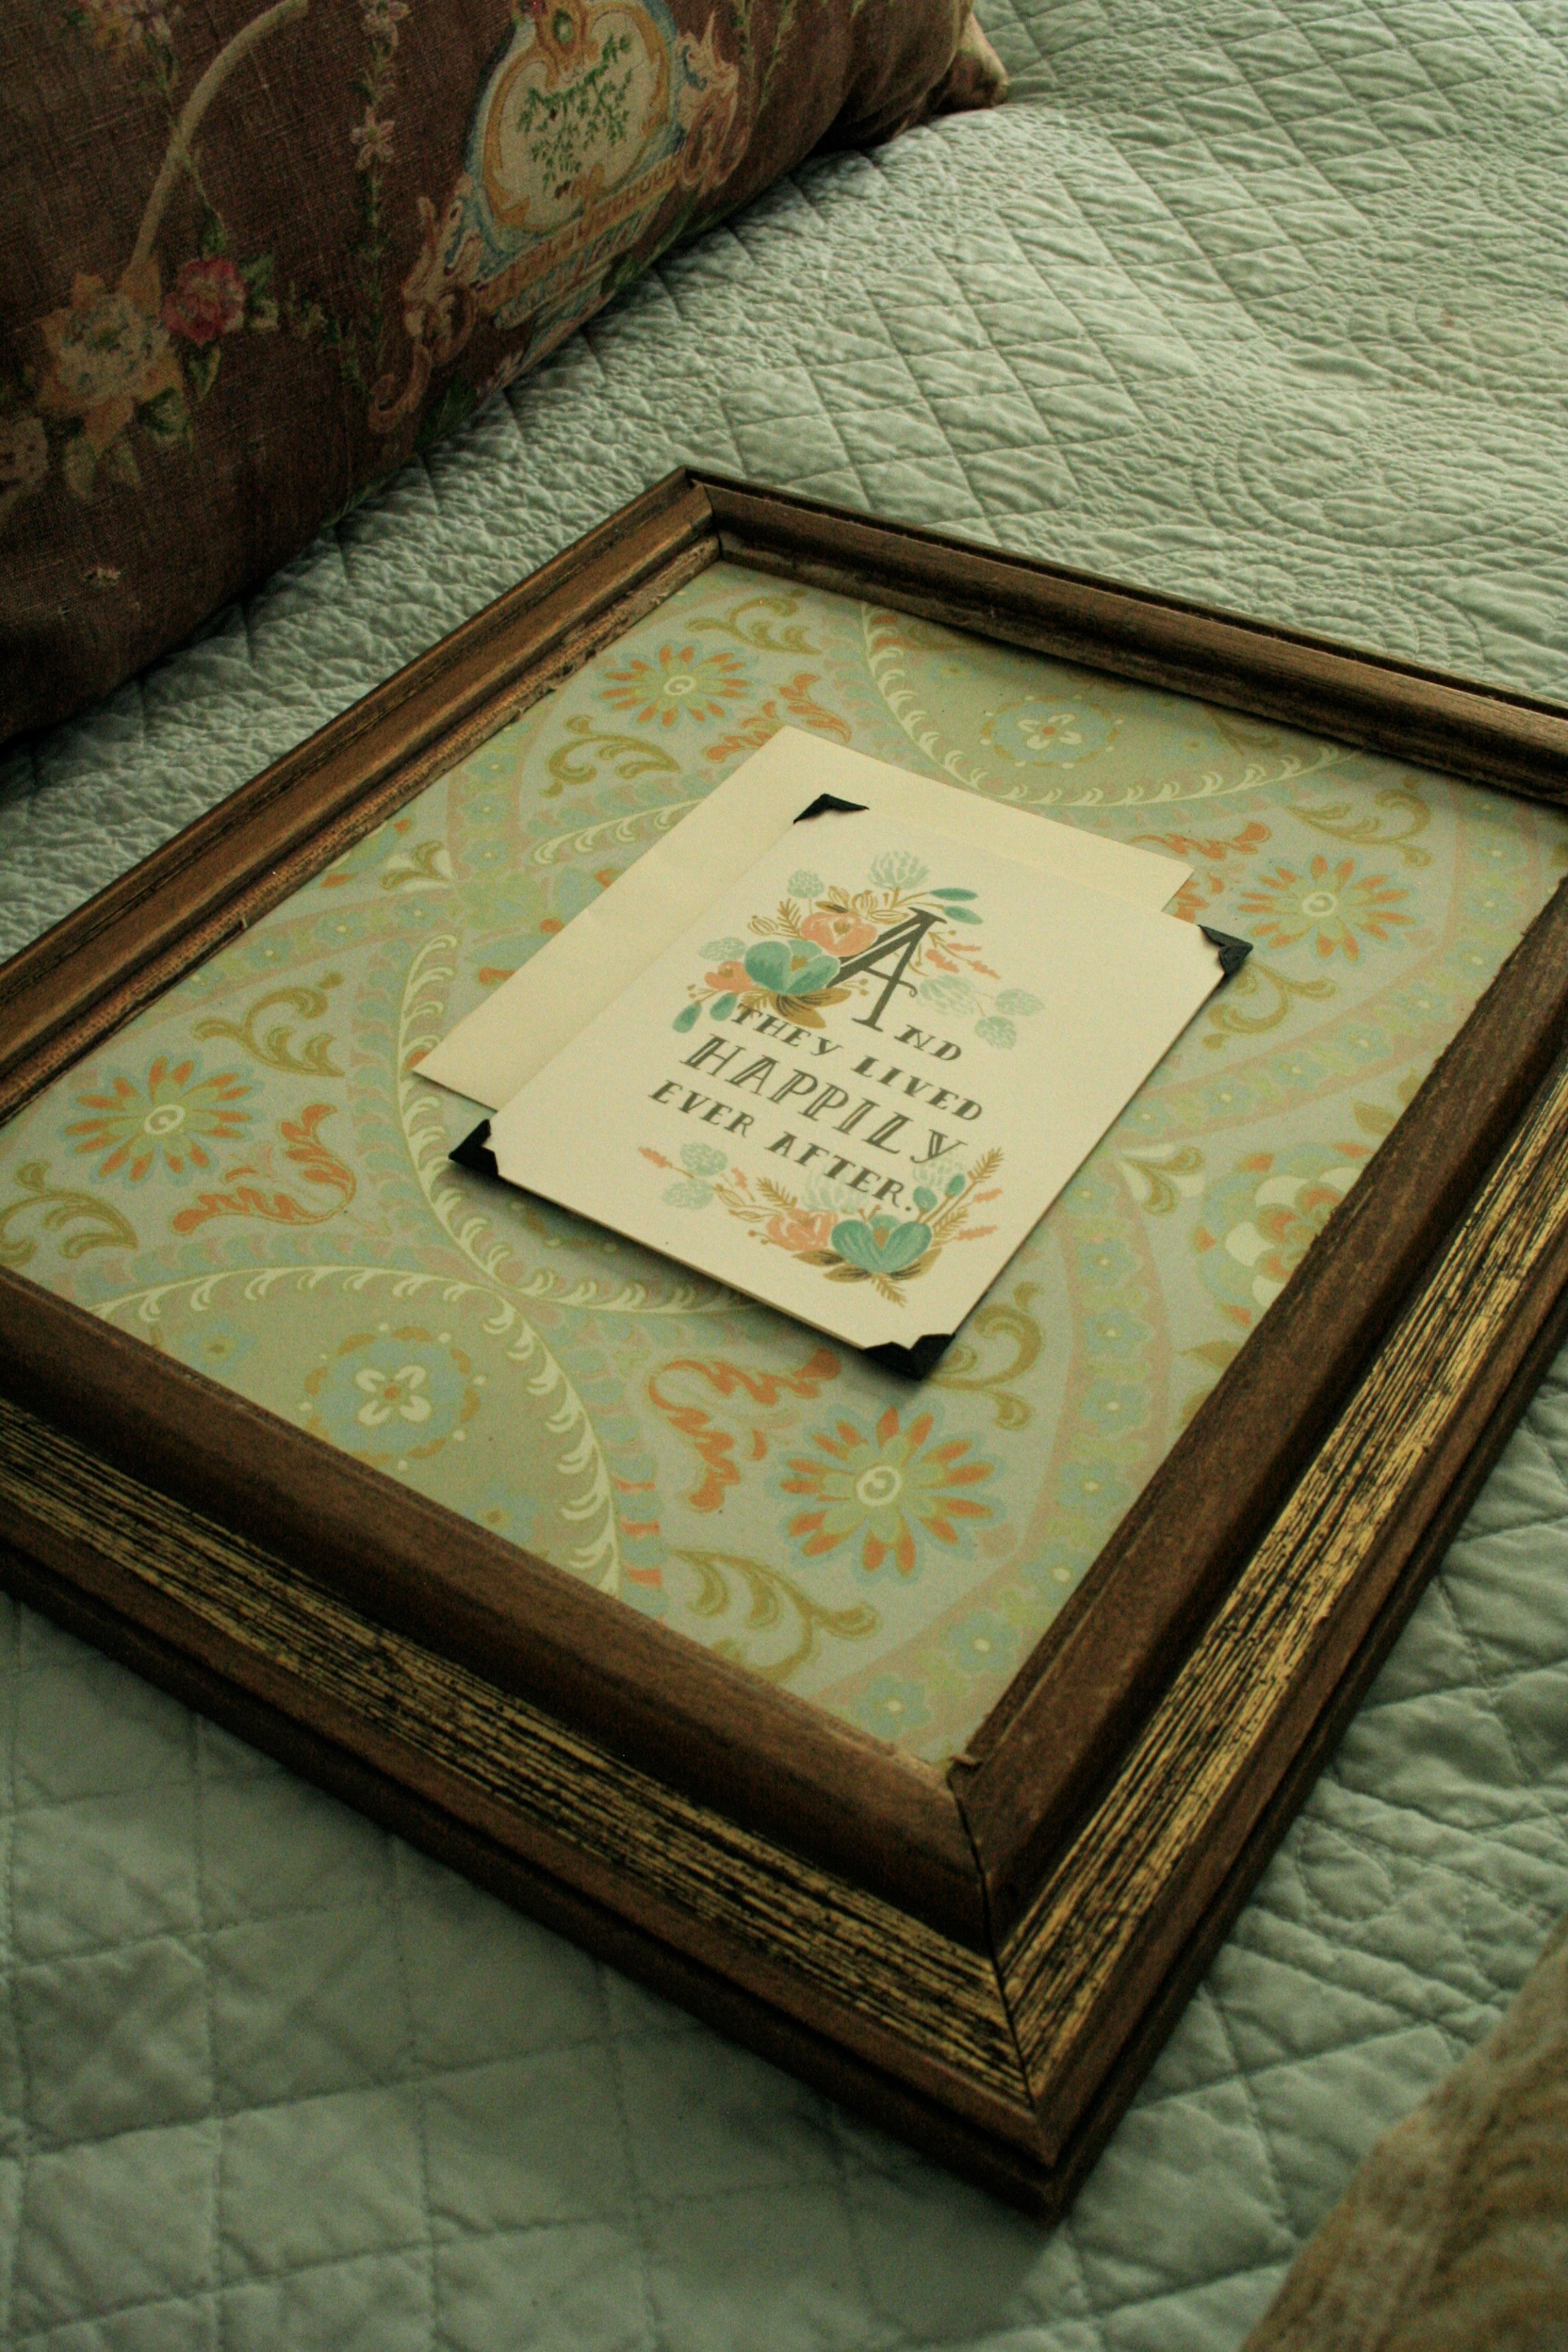
Flip your card over and double-check the placement before gently pressing the card in place on top of the envelope/framed paper. The foam squares will bring some dimension to the piece. You can achieve less dimension by putting the entire piece behind glass or by using photo splits or double sided tape instead of foam squares.
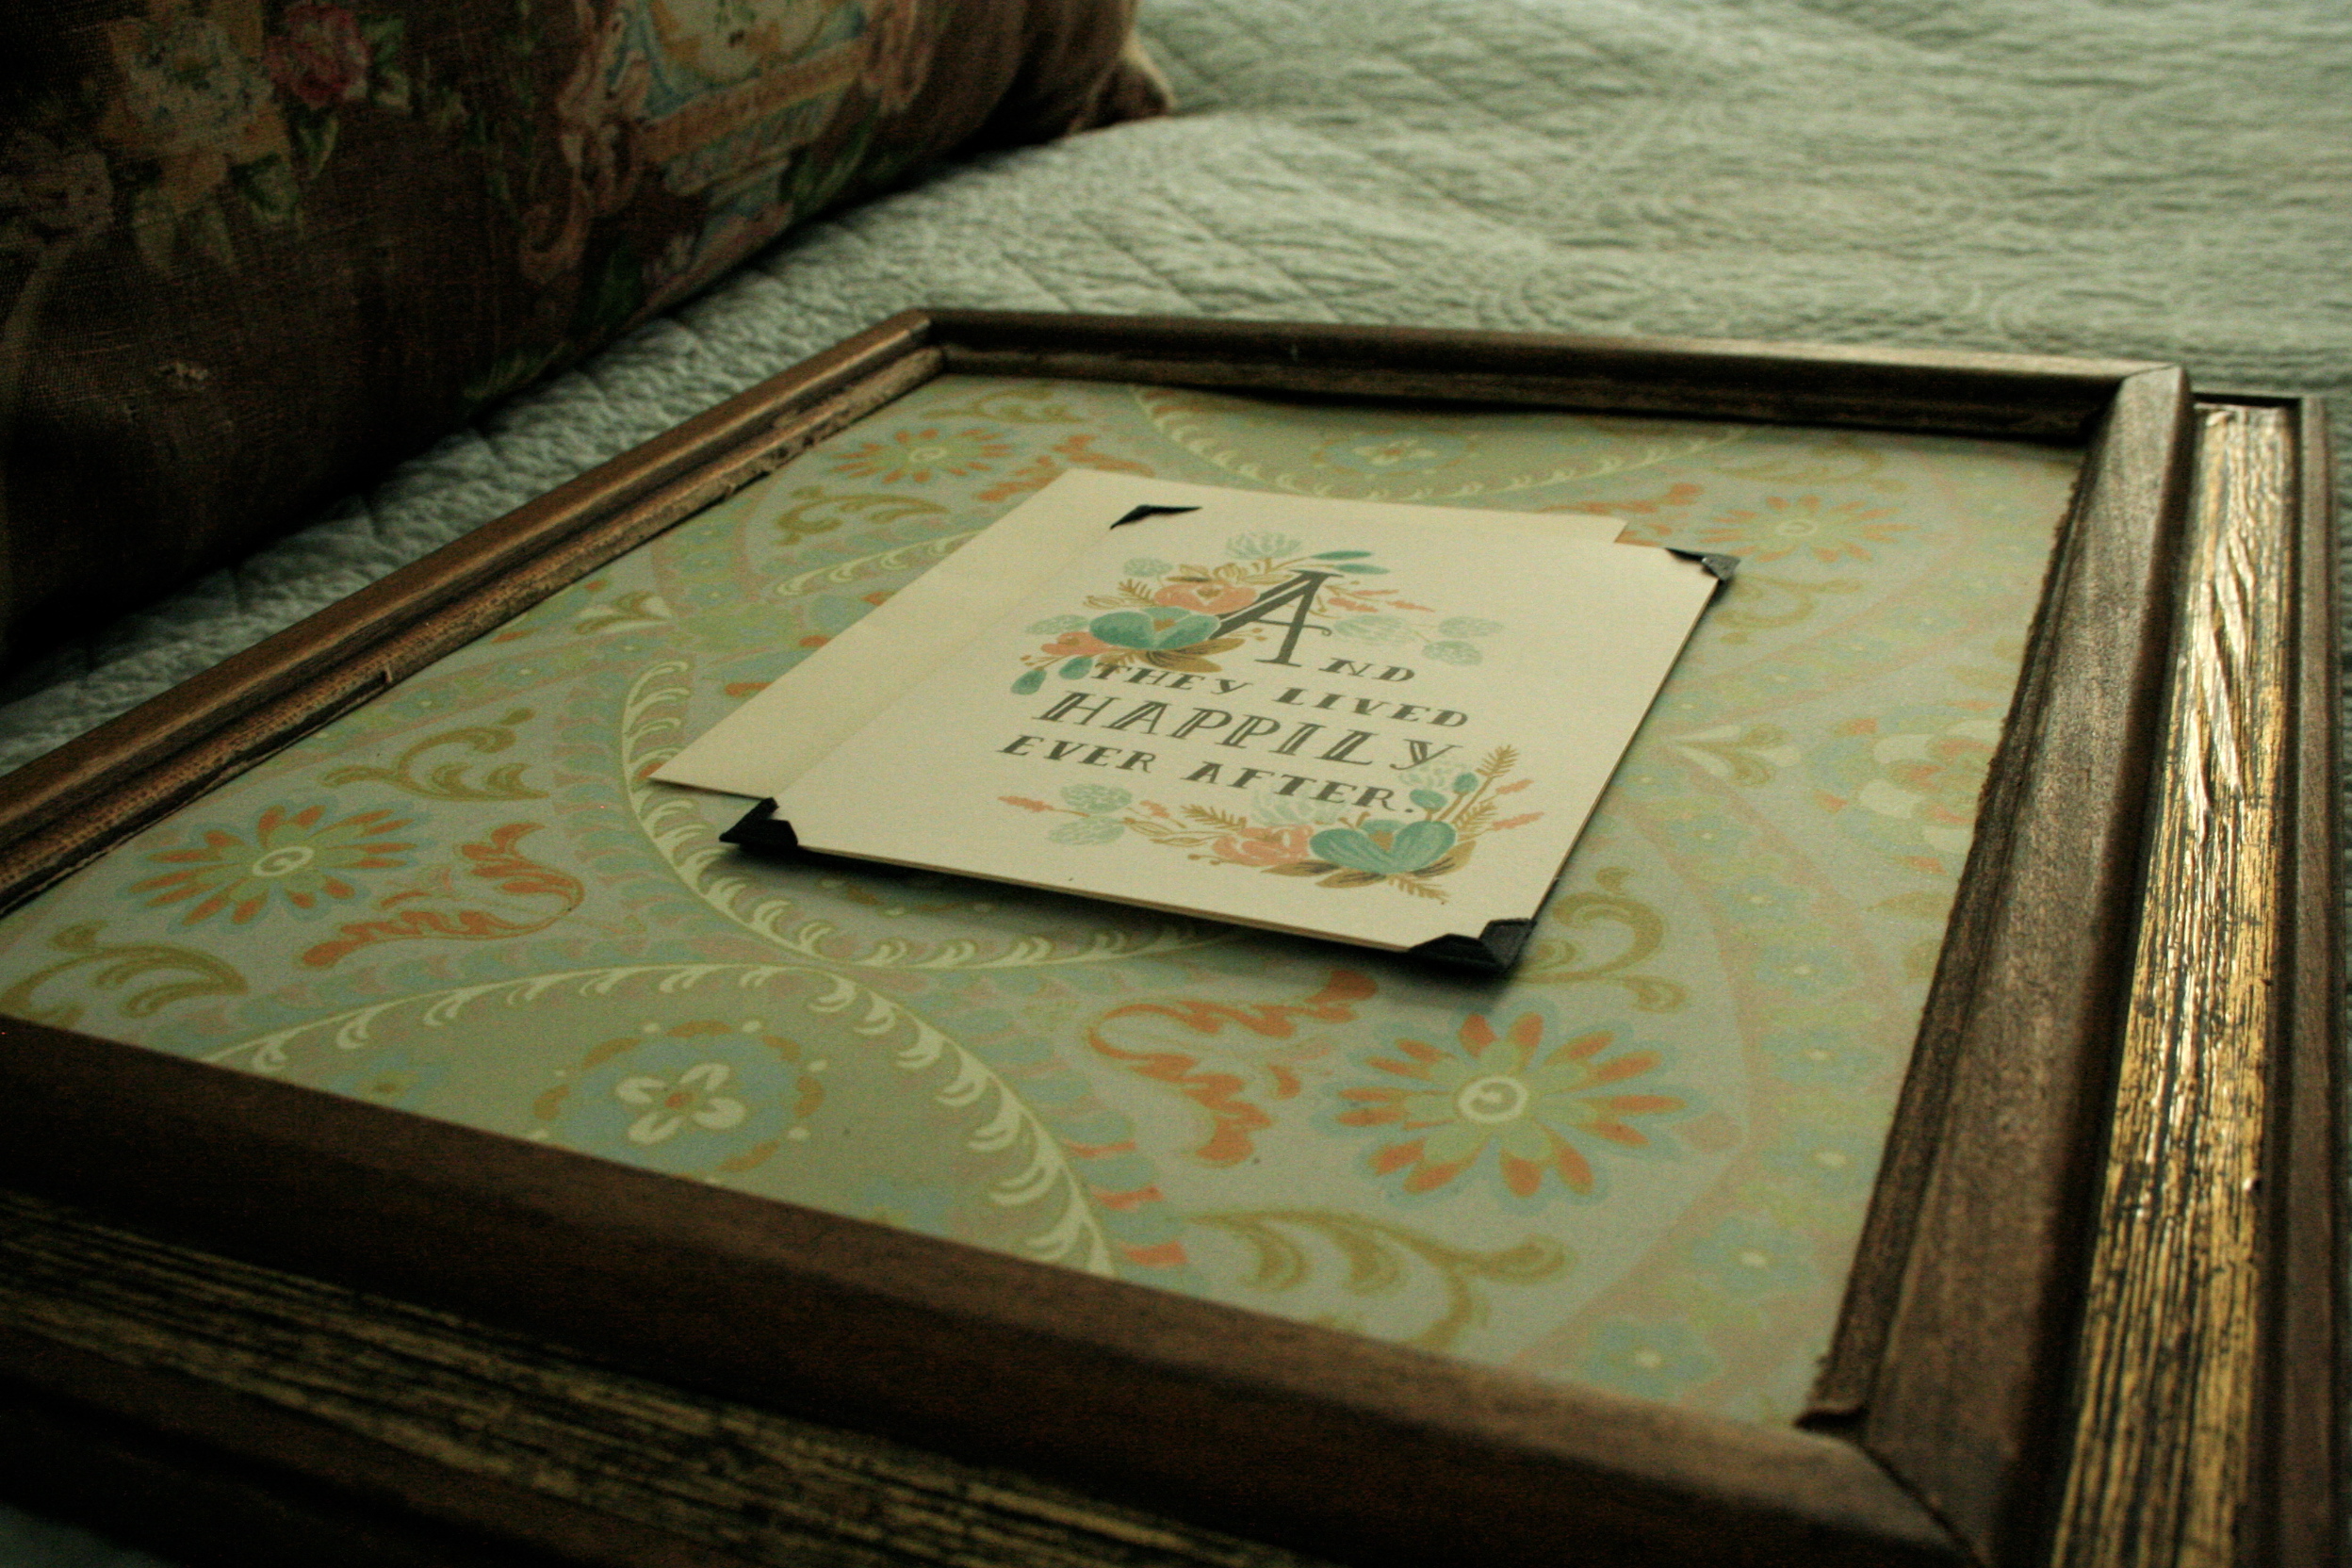
STEP EIGHT: HANG AND ENJOY
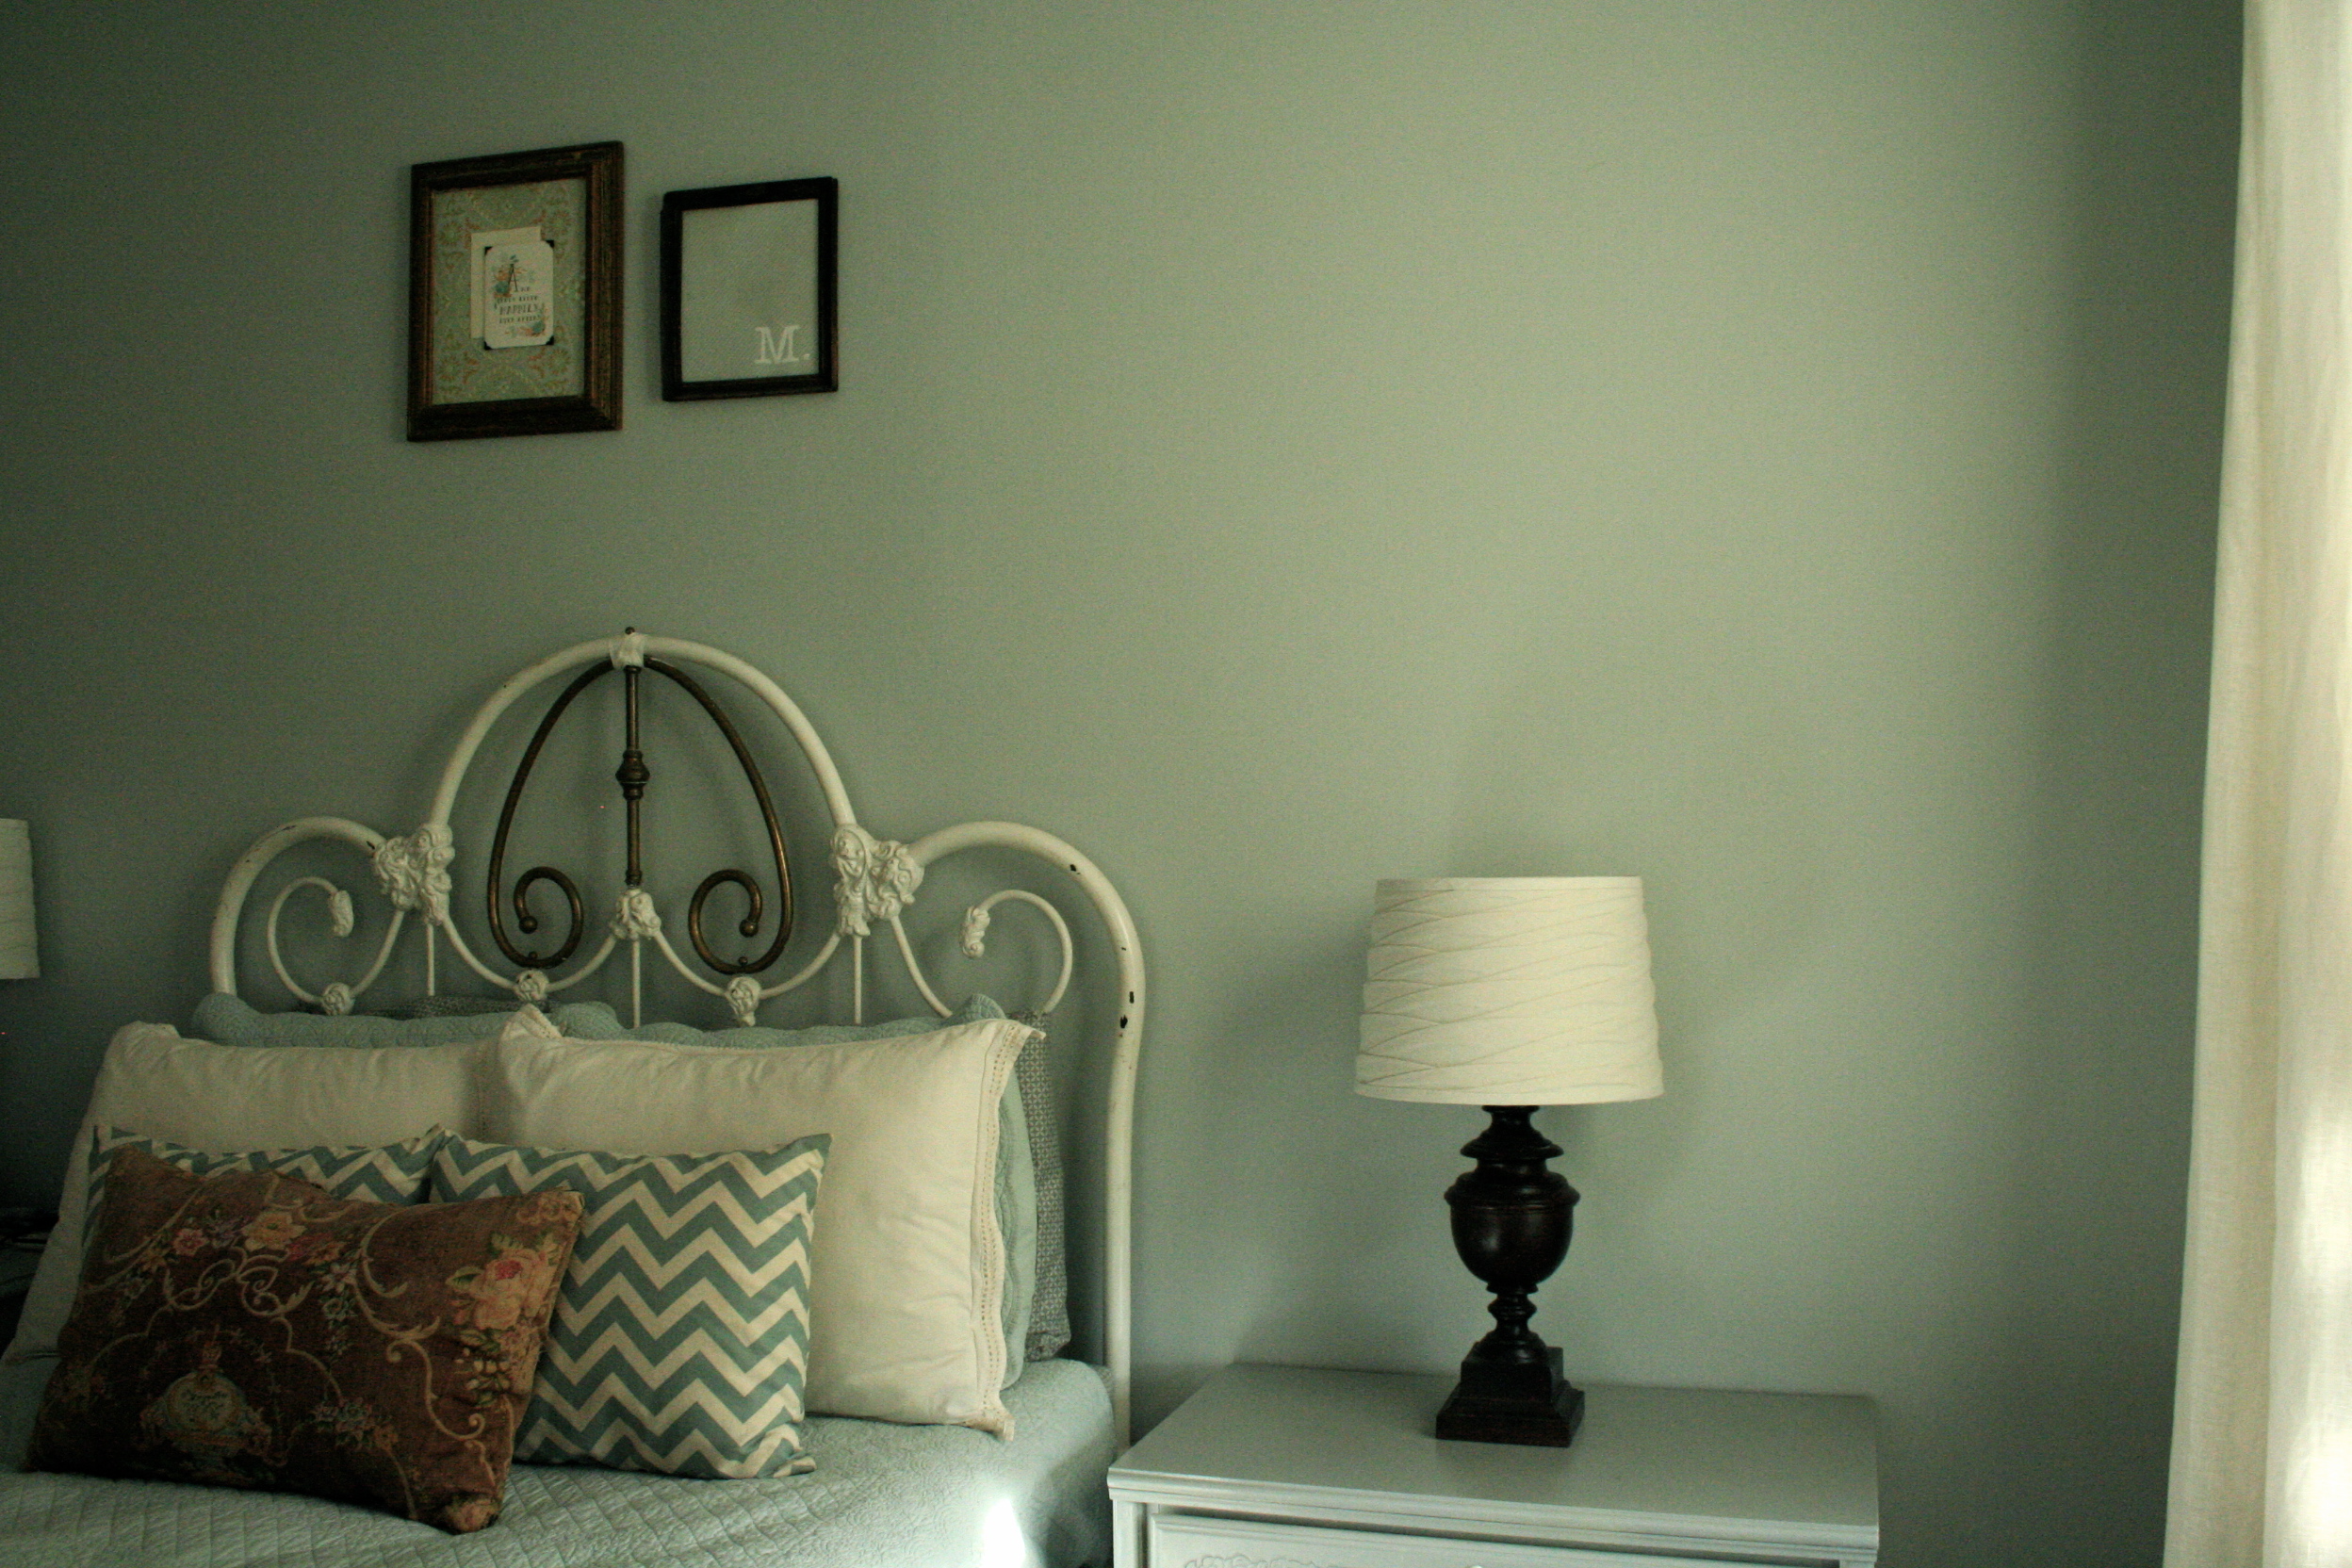
I’m pleased with how this simple project turned out. Not only does the card pick up the colors of the scrapbook paper perfectly, but the hand-written font and sweet little message are gentle reminders that, even amidst the struggles of life, I can choose to love and live happily ever after.
________________________________________________________________
Next in this DIY series, I’ll show you an easy and fool proof way (I promise) to create beautiful, hand-painted lettering.

